Classic Pie Crust

Pie Crust

My family always says that if you are going to be making a pie from scratch, please… for all that is holy… make your crust from scratch. It is amazingly simple and the wait time is minimal. Don’t be intimidated to make your own pie crust.

You don’t necessarily have to have any special tools to make a pie crust, but if you have a pastry cutter, that helps;  however, you can always use the two fork method (or one fork).

This is a recipe that is from the “red book.” My parents have this Betty Crocker book that has amazing and classic recipes. I believed my mom told me that it was a wedding gift; which is a gift that continues to keep on giving, let me tell you. That is one thing that is amazing about cooking; you can share that joy with the ones you love. Have you ever gone to a cook-out that did not have food? NO! Whenever you plan a party, you always think of … food. Food is a conversational piece, an ice breaker, something that we (as human beings) all have in common; I mean you gotta eat right?

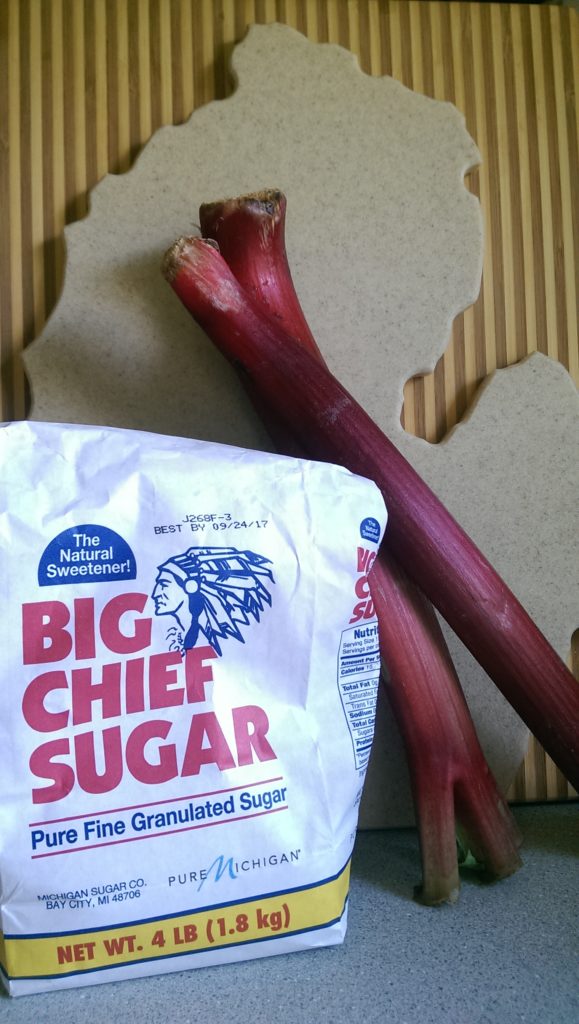
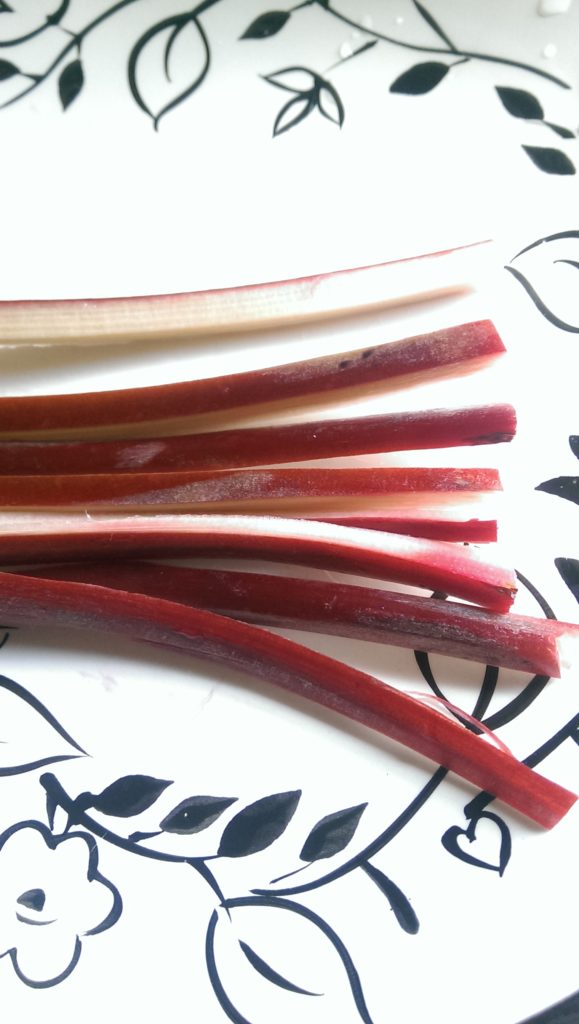
So when you are thinking about what to make for this wonderful 4th of July weekend, think of making pie. My family uses this recipe for apple pie, rhubarb pie, cherry pie, etc. In my family, we always do double crusted pies because, I mean come on; it helps keep the deliciousness inside.  I hope this will become your go to recipe as well.

Please note that when I was making this pie crust, I was chasing light as it was starting to storm outside.

Michigan Item

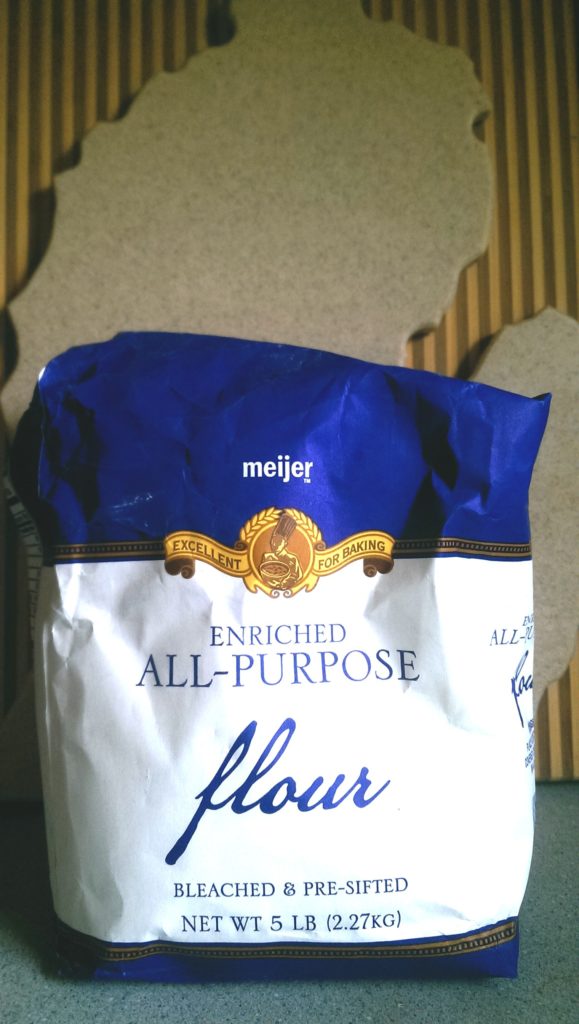
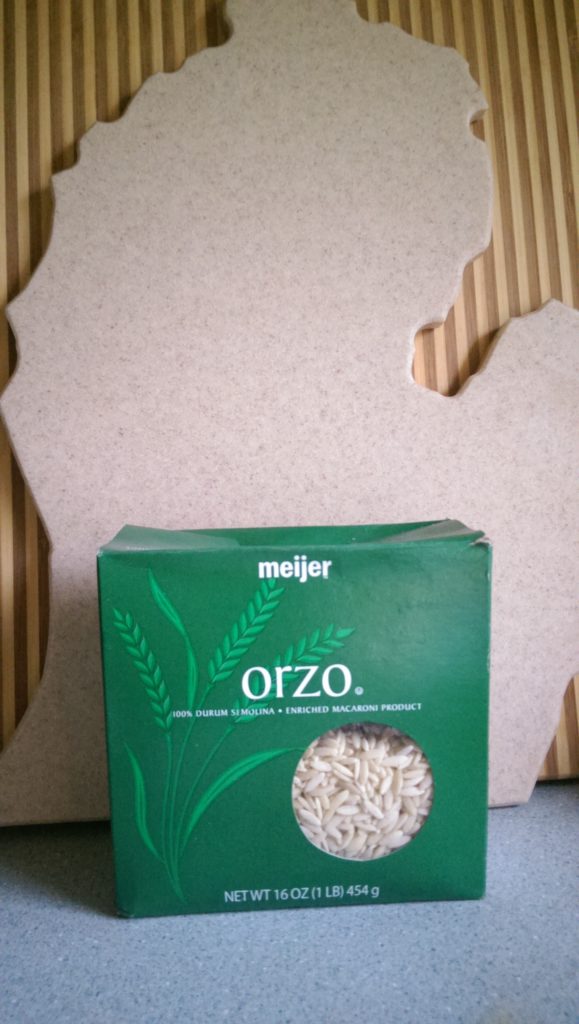
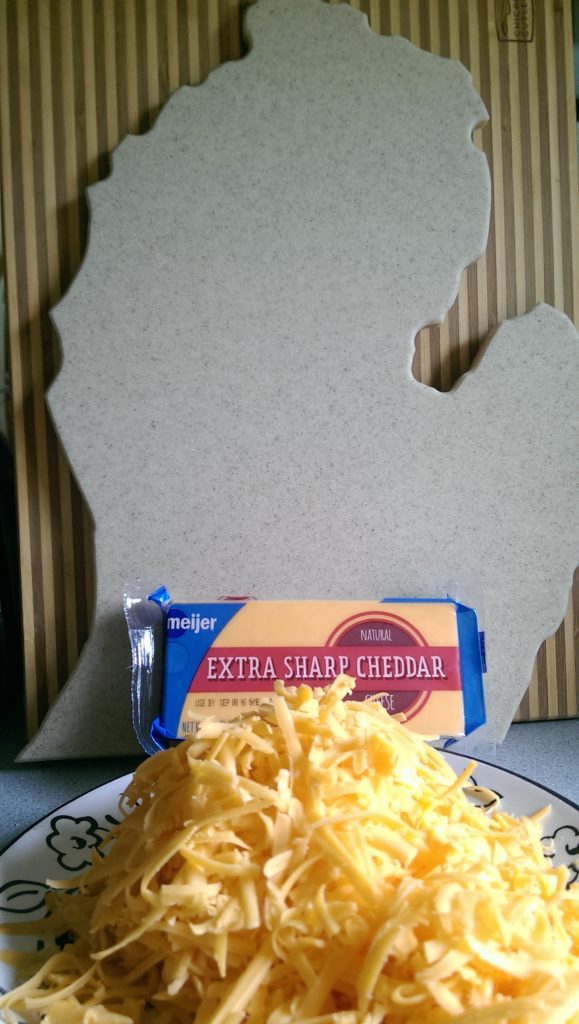
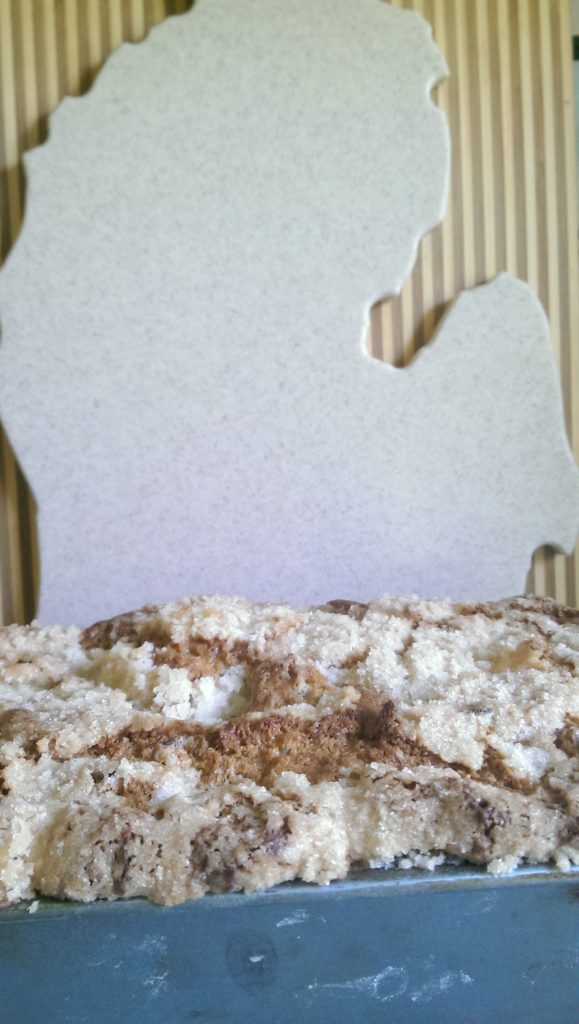
Michigan Ingredient: Meijer Flour

I know, I know… a bit of a stretch, but there are not many ingredients necessary for this crust. It’s usually what’s inside that counts.

In Michigan, there are two types of pie that every woman needs to know how to make: apple  pie and cherry pie. Trust me, I will help you with being able to tackle both… [insert foreshadowing now…]

Pie Crust

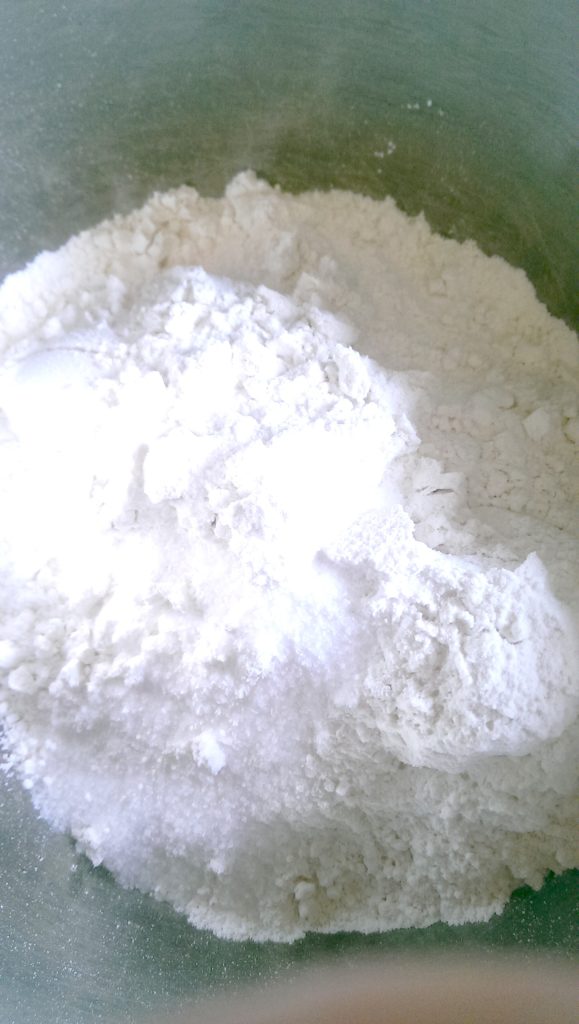
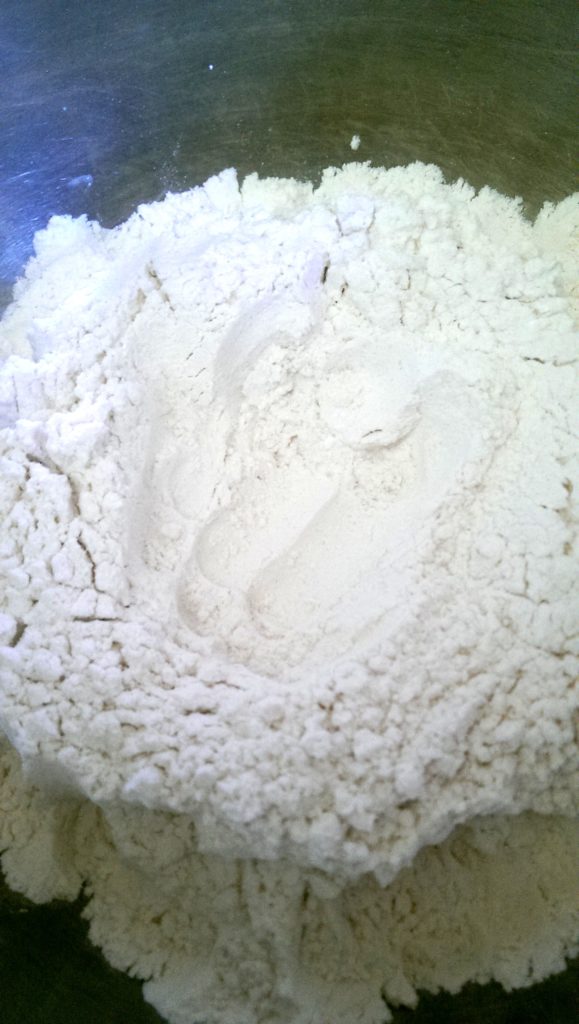
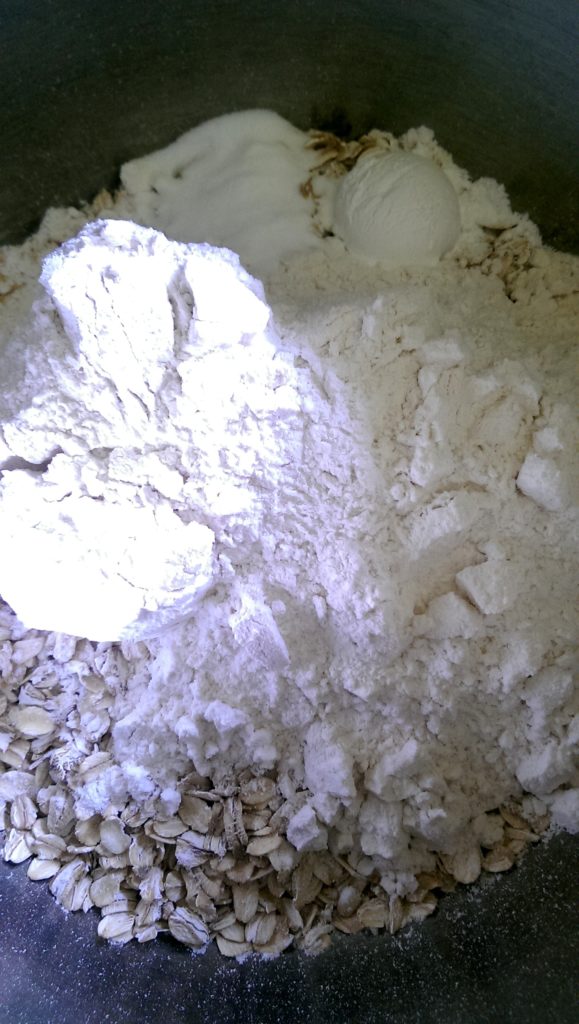
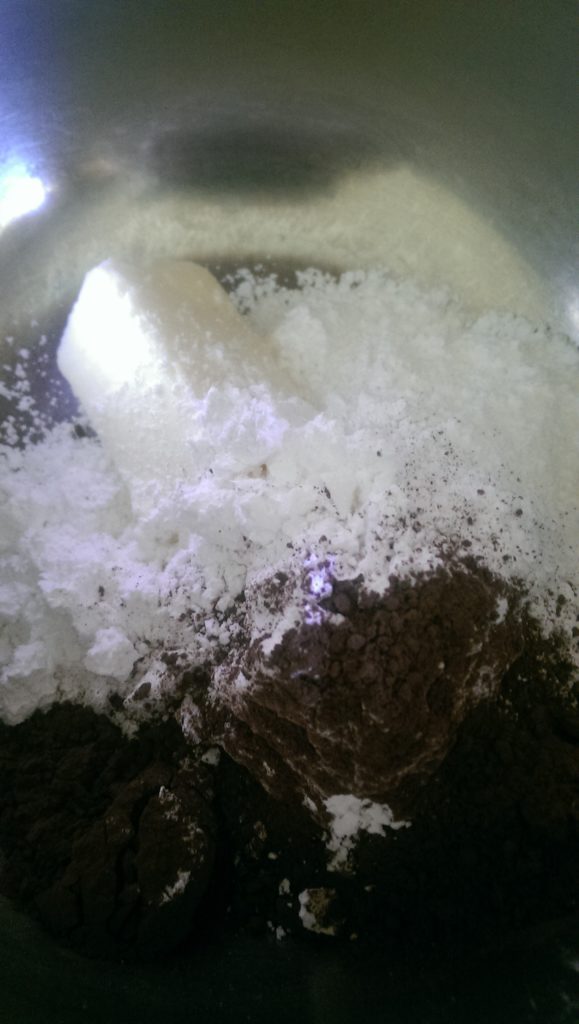
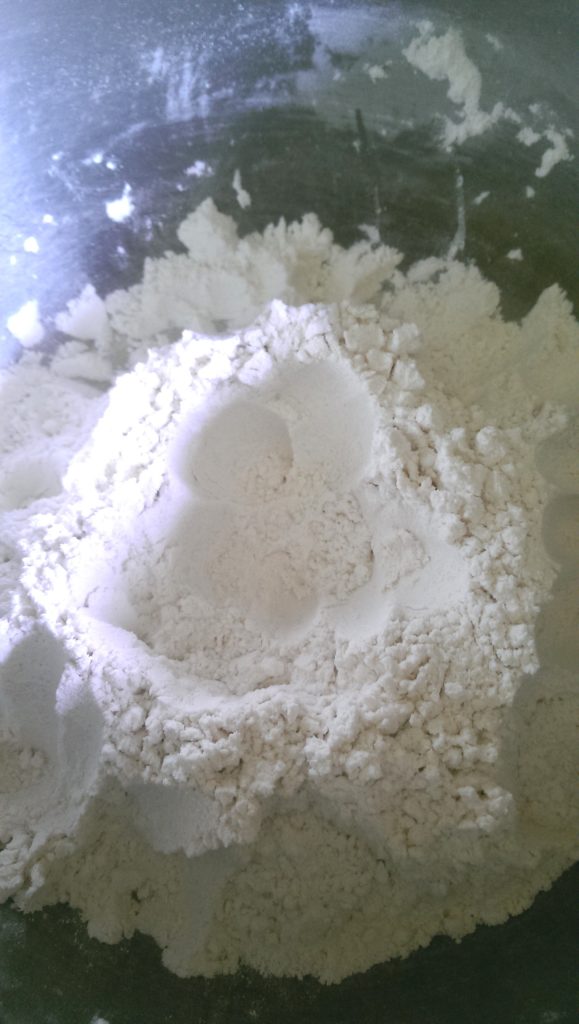
First things first, measure out your flour and salt and combine in a bowl.

Pie Crust

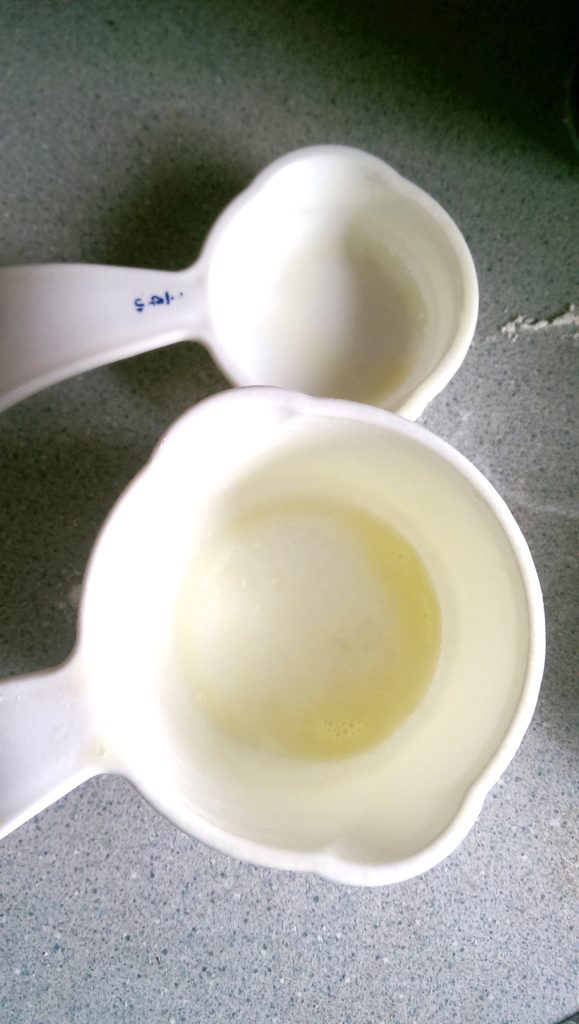
EXPERT TIP!! Before you measure your shortening, spray your measuring cups with non-stick spray to assist with stick-age (<– not a word… but how else would you describe it). Yes, there will be a little bit that sticks, BUT not nearly as much if you did not spray your measuring cups with non-stick spray.

Pie Crust

Pie Crust

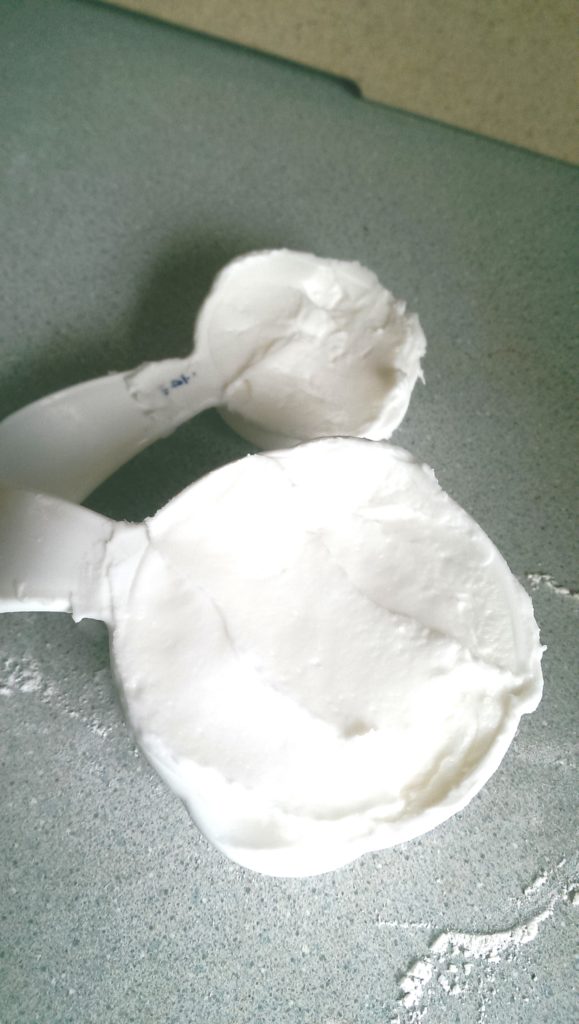
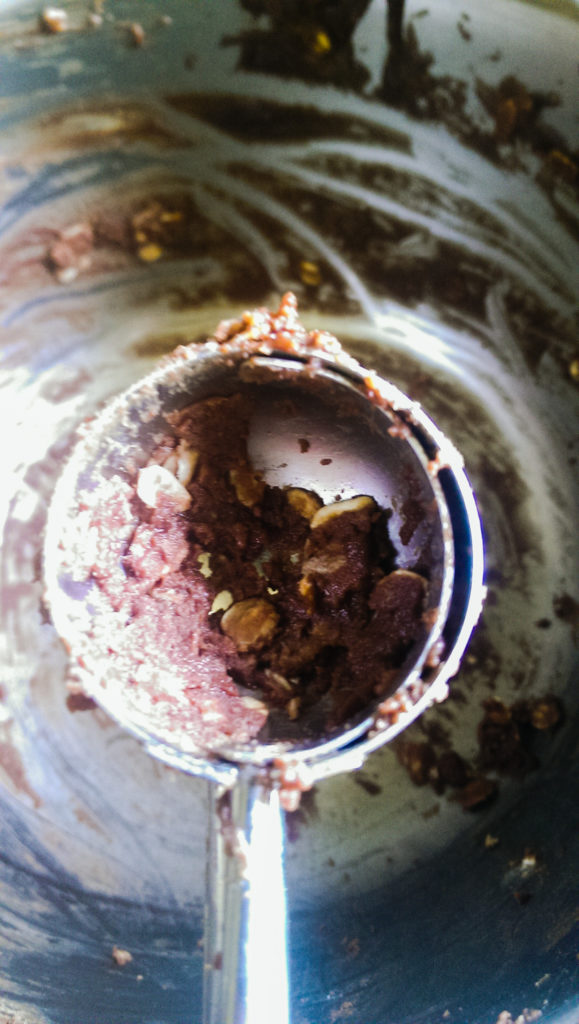
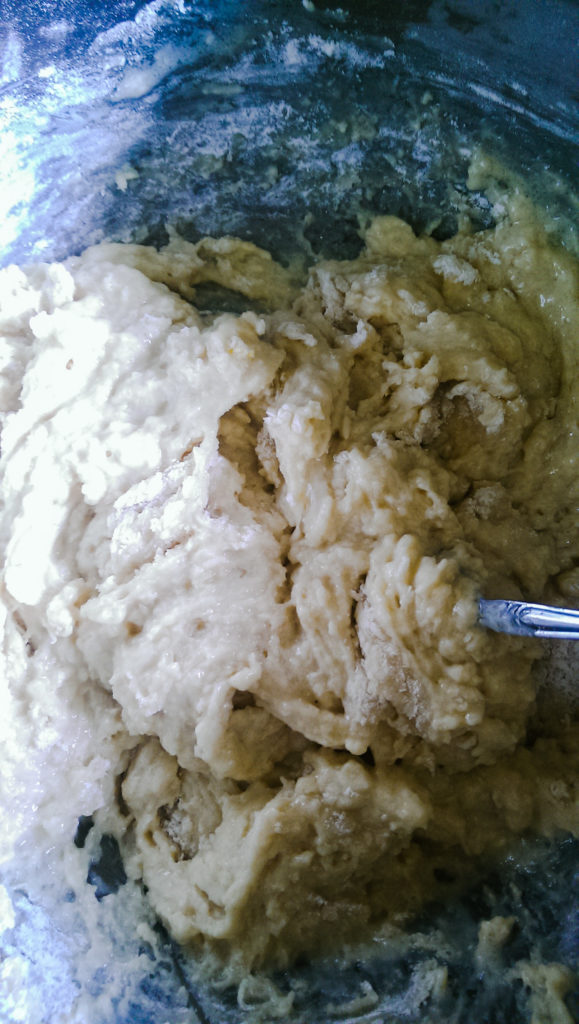
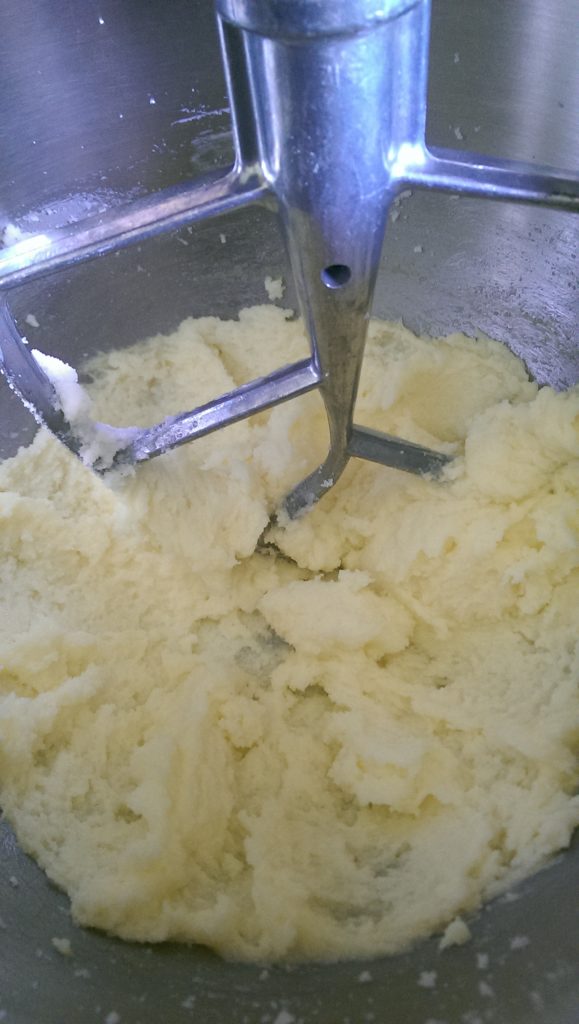
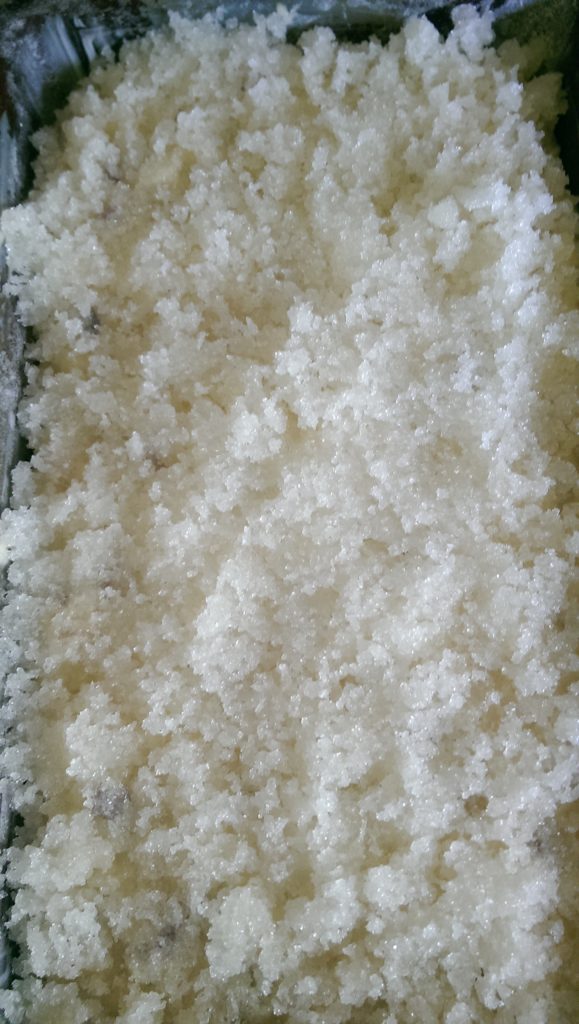
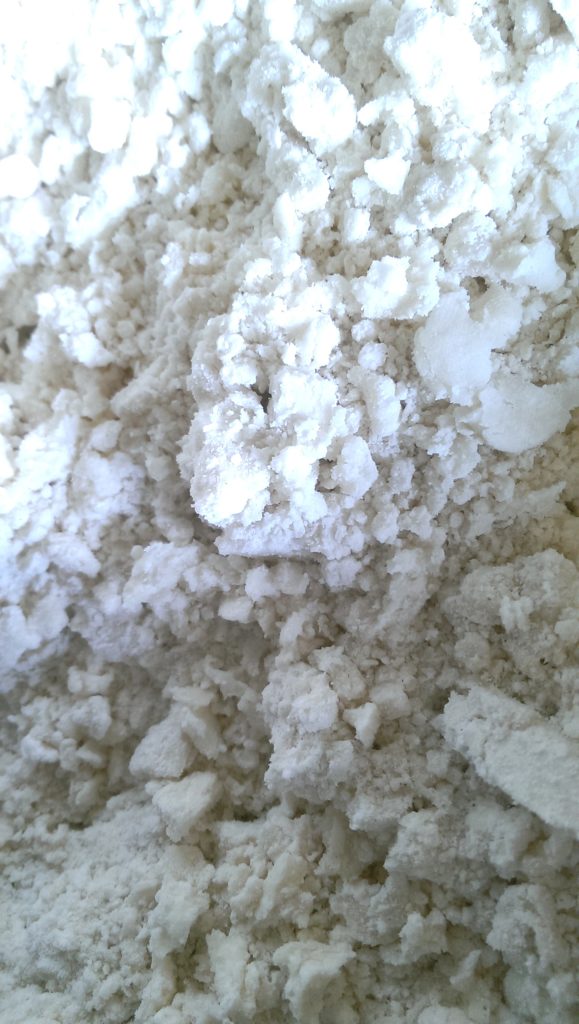
Drop your shortening in your flour mixture and “cut” the shortening into the flour. You will do this until the mixture looks like pea-sized crumbs (like below)

Pie Crust

You could do this in a food processor; I’ve seen people do it, but the nostalgia of making a pie crust the “old fashioned” way is the way I prefer to do it.

Pie Crust

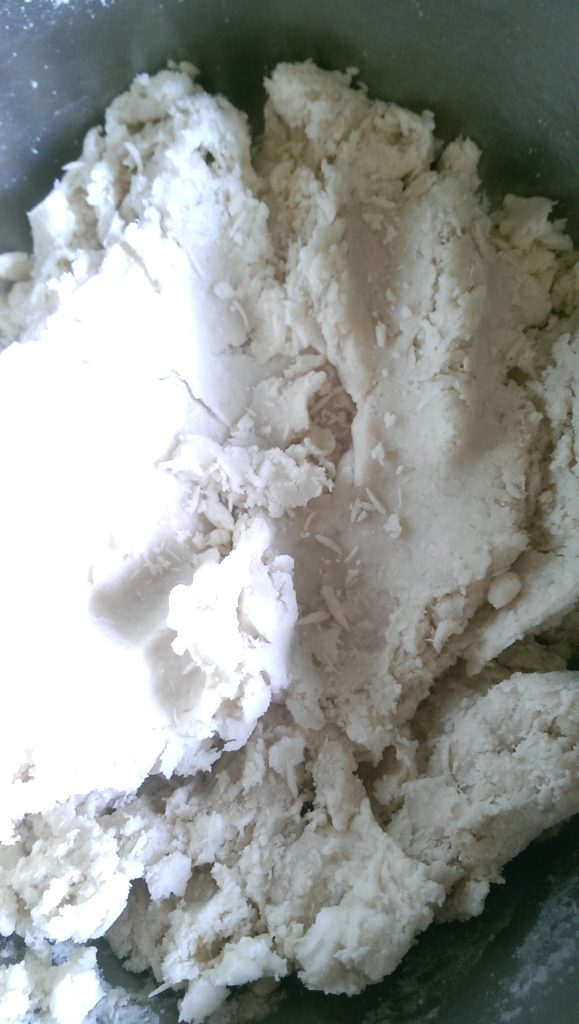
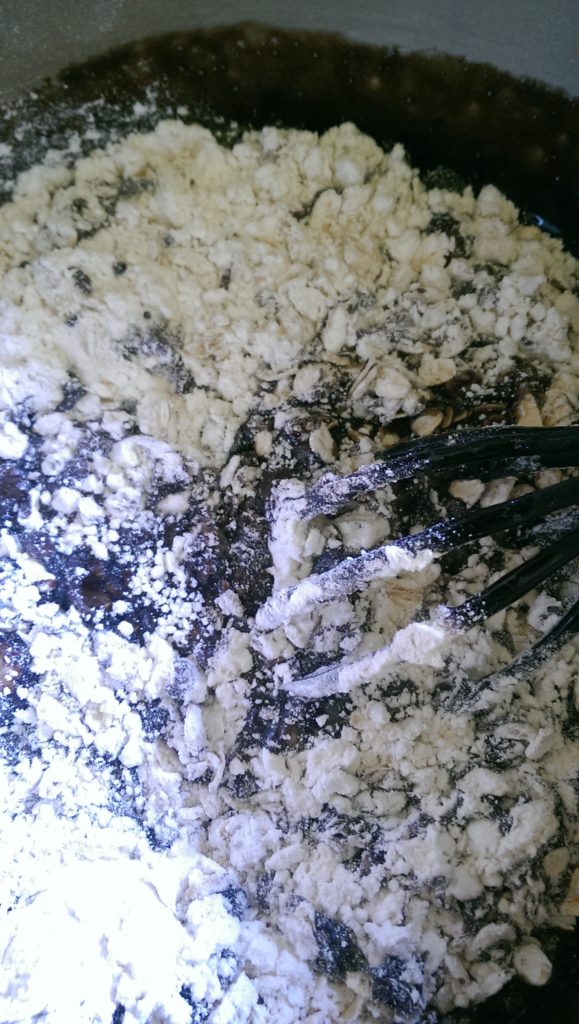
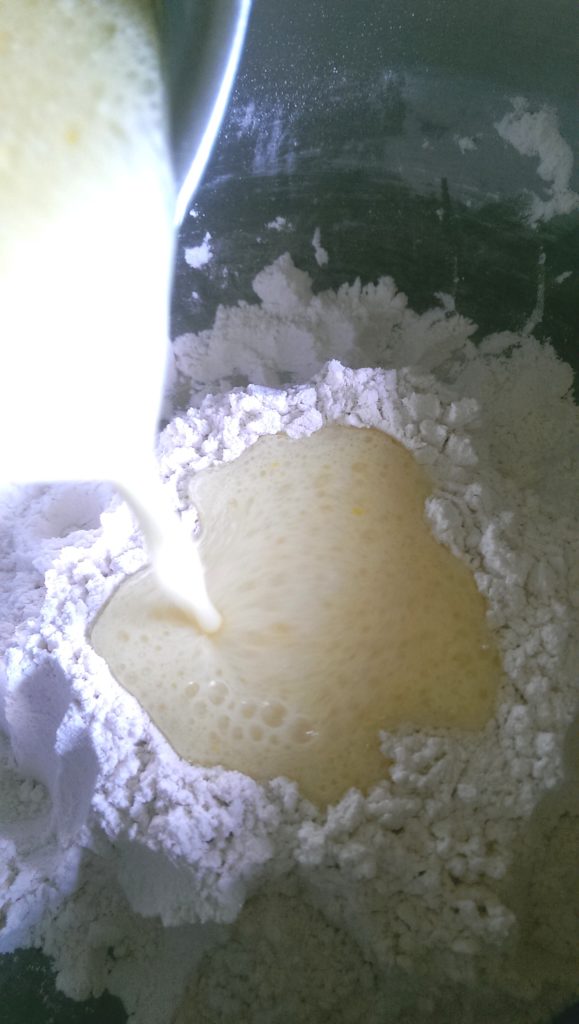
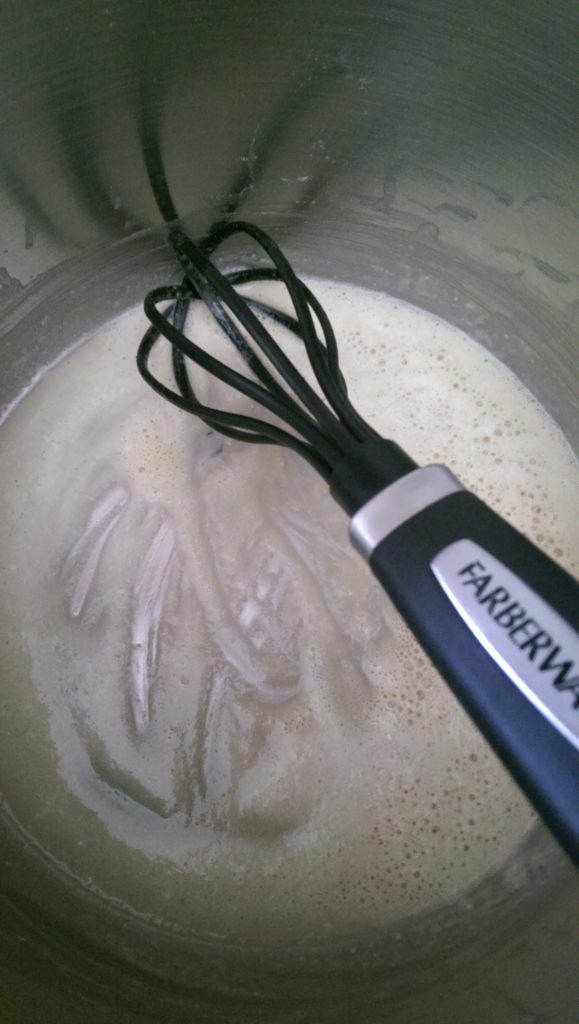
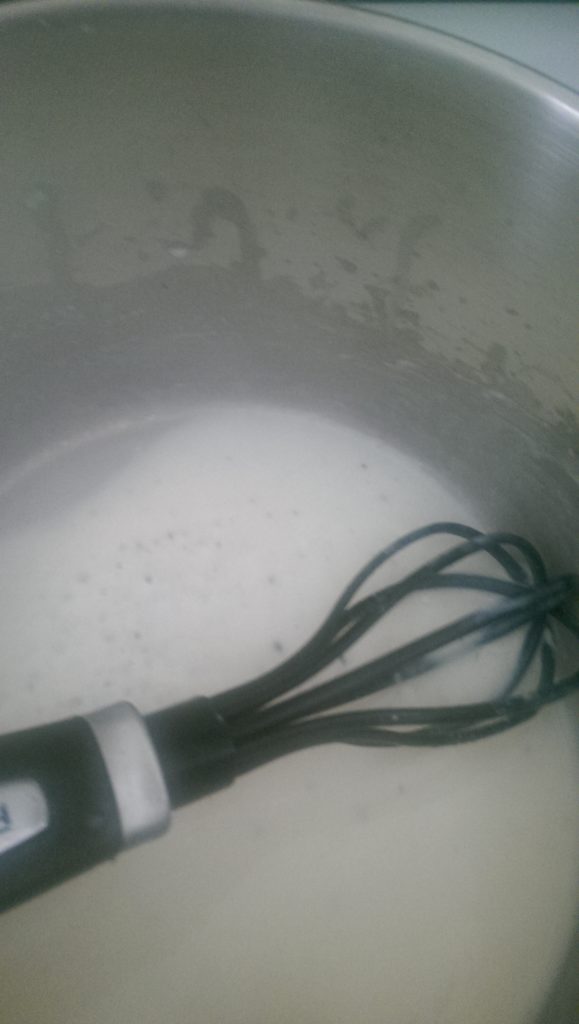
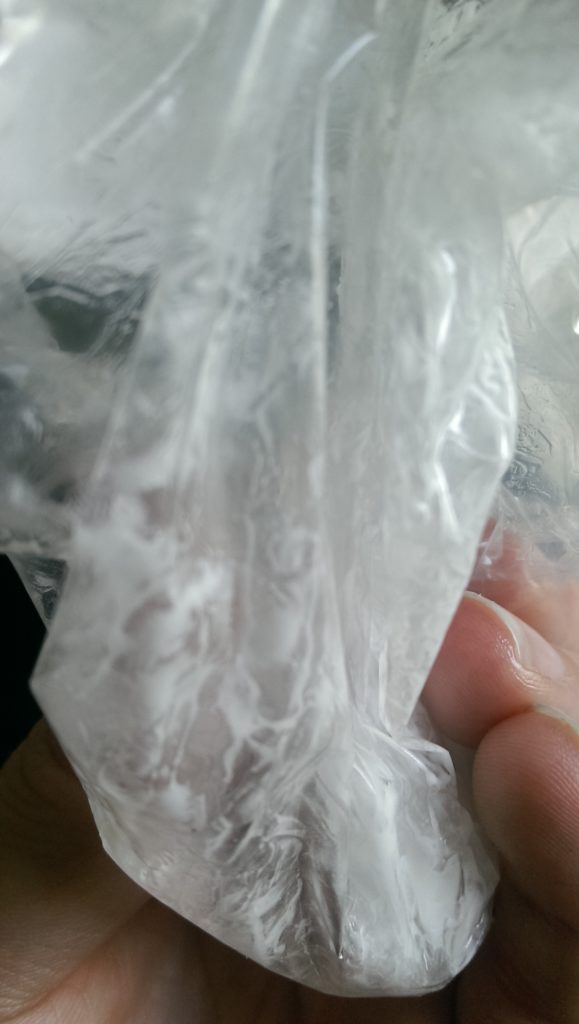
Add your ice water to the mixture and combine. You can use a spoon, but sometimes you just need to use the tools that god gave ya (your hands) and get in there and get messy. I would recommend that you remove any jewelry.

Pie Crust

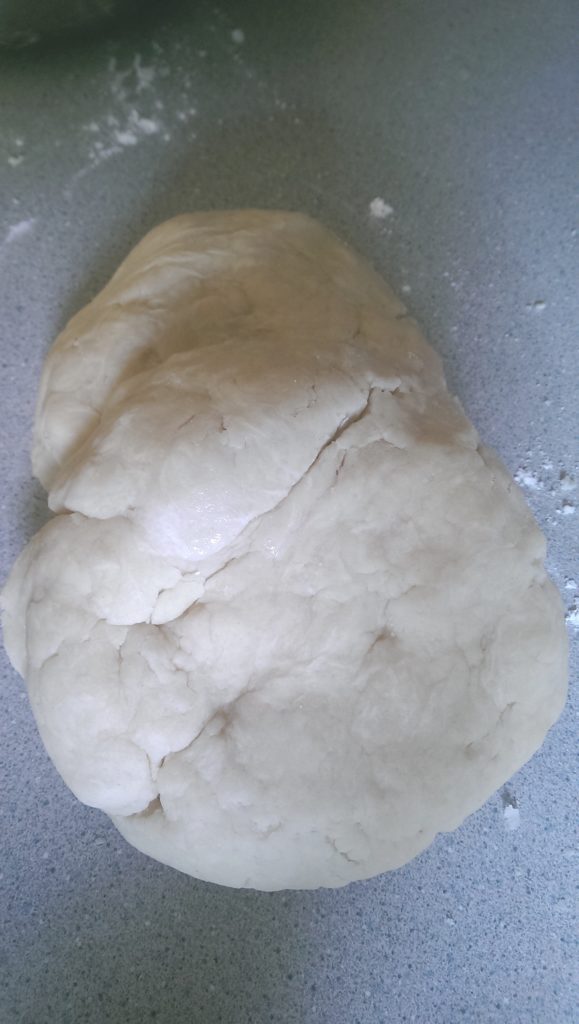
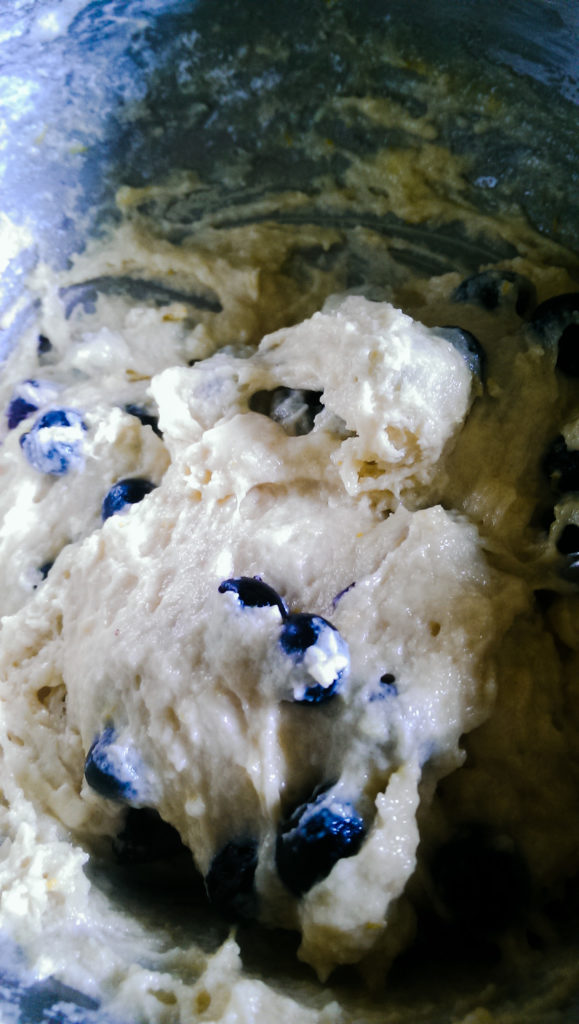
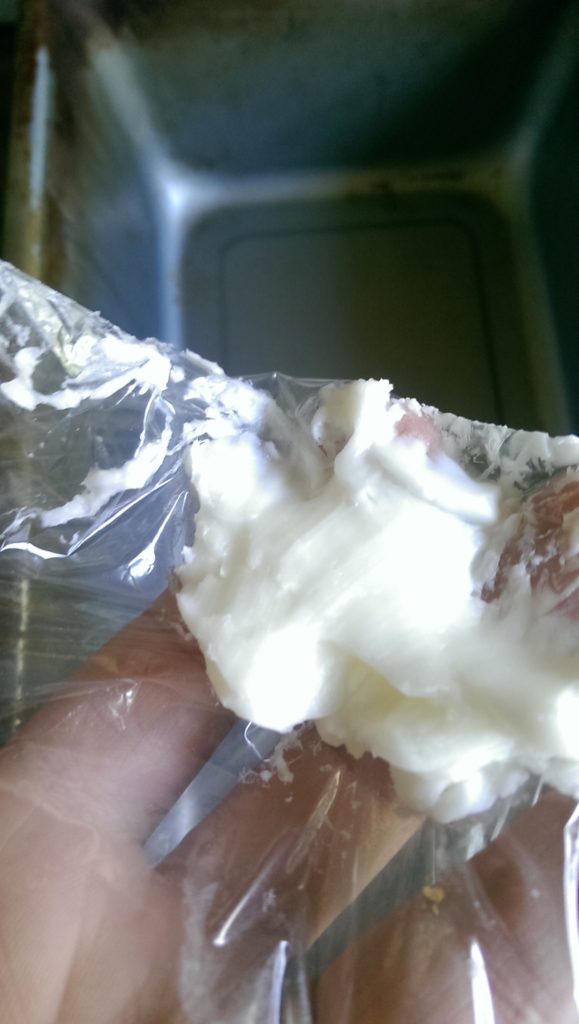
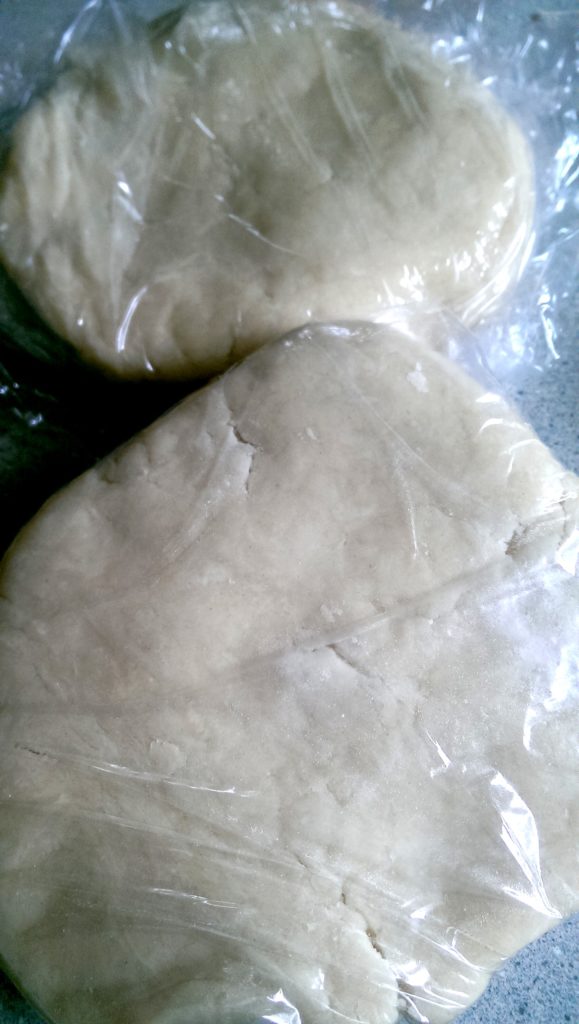
Once the dough is combined, divide in half, and shape into round discs. Wrap the dough in plastic wrap, put them in a gallon-sized zip-lock bag,  and place them in the freezer for at least 2 hours.

Pie Crust

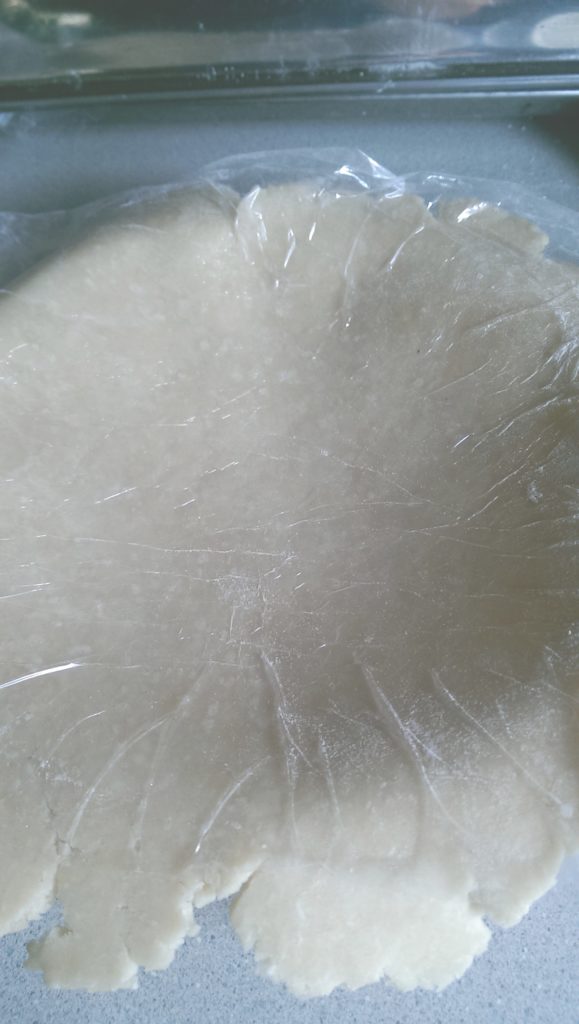
When you  are ready to use the dough, I would recommend trying to roll the dough while it is wrapped in the clear plastic wrap. It makes it so you don’t have to use flour and then run into the chance of the dough having a slight flour taste. ALSO! Transfer is a snap!

Pie Crust

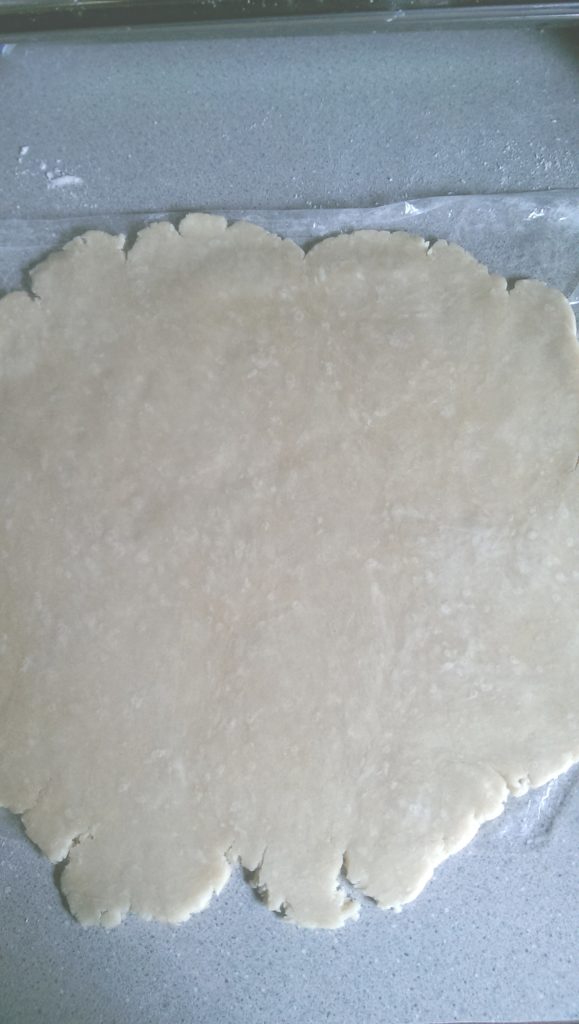
Try to roll it out into as much of a circle as possible. I would recommend having your pie plate out so that you can eyeball how much you need to roll the dough out.

Pie Crust

Repeat with the second disc of dough of rolling it out.

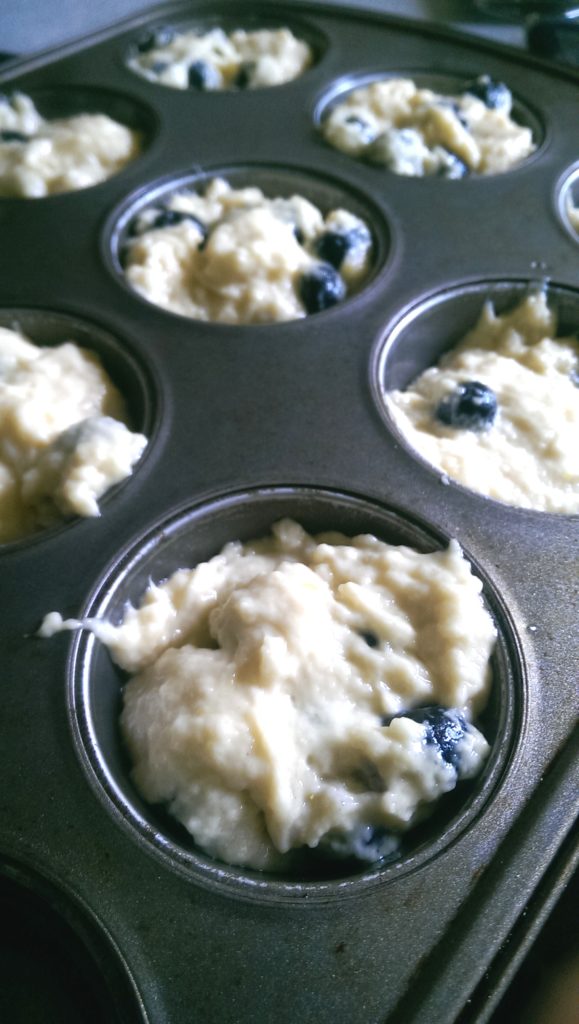
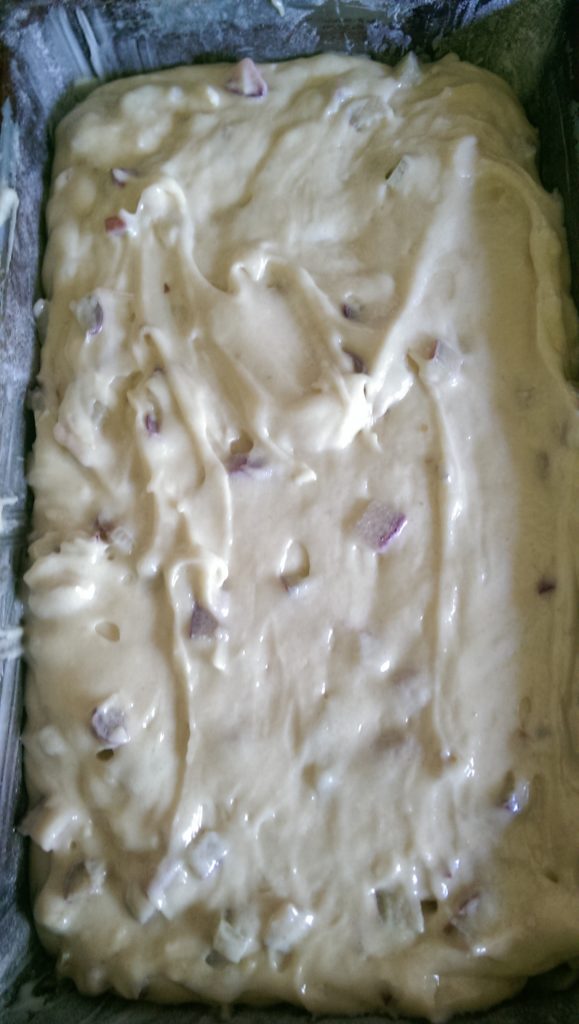
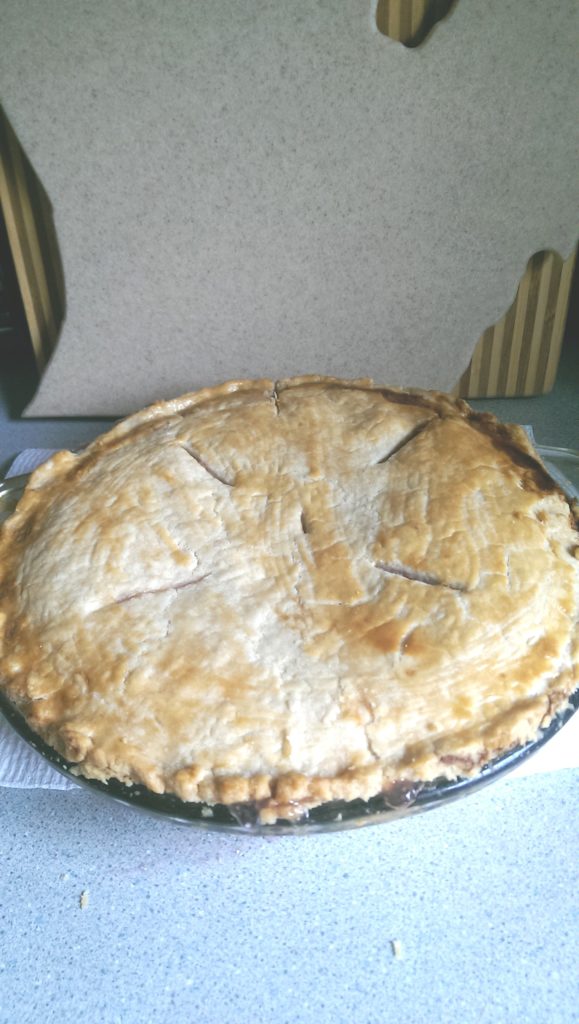
Fill the pie with your favorite filling and top with the second crust.  Trim and crimp the edges and set aside the excess dough (I’ll tell you what to do with the excess dough on Thursday). Once you are ready to bake, brush the top with a beaten egg to help get that “golden” look.

Classic Pie Crust
 
Author:
Recipe type: Dessert
Cuisine: American
Serves: 2 crusts
Prep time:
Total time:
 
A classic pie crust recipe that you can use for your favorite pie recipes!
Ingredients
  • 3⅓ cups of Flour
  • 1 tsp Salt
  • 1¼ cups of Shortening
  • 8-9 tablespoons of Ice Water
Instructions
  1. Combine your flour and salt in a bowl.
  2. Spray your measuring cups with cooking spray; measure your shortening and scoop into the flour.
  3. Use either a pastry cutter or two forks and "cut" the shortening into the flour until it resembles pea sized crumbs.
  4. Pour 8 tablespoons of ice water into the mixture. If it combines easy, you do not need more water. If it seems like it is a bit difficult to combine, add the remaining tablespoon of water.
  5. Once the pie dough is combined, cut the dough in half and shape into round discs. Place the dough in the freezer for a couple of hours.
  6. When you are ready to use the dough, take the discs out of the freezer and roll out (as best as you can) into 9 or 10 inch circles and fill with your favorite filling. Trim and crimp the edges. Set aside the excess dough.
  7. When you are ready to bake, you can brush the crust with a beaten egg to help achieve the "golden" look.
Notes
Recipe from Betty Crocker


Macaroni and Cheese

Macaroni and Cheese

My beautiful cousin requested that I put my macaroni and cheese recipe on the blog because she wants/needs a simple, yet deeee-lish… AND can be healthified (apparently not a word, but will be now ha ha). The one thing that I have to say, is try both ways (using either whole everything or 2%) and see which is best. Unfortunately, in order for your roux to set up perfectly, I would recommend using no lower than 2% milk. I have tried with 1/2% and it did not set nicely. It was like I should have not put forth the effort and just melted the cheese into the milk (true story).

I had a little bit of time off from my day job and took a little break from the blog so I could clear my head, come up with some creative ideas and try to get into a rhythm of doing things. It’s not like my old way was not proper, I just need to find the perfect balance between being a mom, wife, an admin, and blogger. The only thing that I learned during my vacation is that I work too much (don’t we all), and that I need to be able to run on a daily basis. During those runs, I was able to think more clearly and of course not feel as stressed; I mean, how can you feel stress when this is where you run…… (below)

IMAG3072

This was at about…. 7:45 a.m. This is what makes me love where I live and of course, and is one of the many things great about Michigan. Maybe other states have wild flowers on a man-made trail, BUUUUUTTTTTTTT, Michigan has that nostalgia about it. I mean, haven’t you heard the Pure Michigan ads?

ANYWAYS…. Back to the dish.

This is a two part post. First, the macaroni recipe, then on Thursday, I will post the recipe for the Blueberry Muffins. When you eat mac and cheese in my family, you have to have green beans and a muffin of some sort. Trust me, you will not go  back after you have had this combination.

Michigan Item

Michigan Ingredient: Meijer Cheese

First things first, put some water into a pot and start the boiling process for your noodles while you are working on your roux. Again… multi-task!

IMAG3019

Melt your butter and sprinkle your flour into same while whisking. Whisking is very important when it comes to making a roux (which some people call it a white sauce – but roux sounds so fancy 🙂 ). After the butter and flour starts to bubble (but before it turns brown), drizzle in your milk while you are continuously whisking.  Some say that it might have a “nutty” smell; maybe my sniffer is off, but I never smell the “nutty” smell, so don’t worry about that.

TTT

Continuously whisk the mixture until the consistency becomes a thinned out cake batter. (A good test is to drag your whisk and if it takes a while to fill the line, it’s more than likely done.)

TTTTT

Add your shredded cheese to the mixture and remove off the heat.  Try to refrain yourself from taking multiple tastes. Again, no Judgment here if you do, I don’t blame you. This cheese sauce is amazing. Add salt and pepper to taste at this point (thus the speckles in the picture above).

IUY

IIII

Once your noodles are done, add them to the cheese sauce and stir to combine. Pour into a casserole dish.

IMAG3041

Melt your 1 tablespoon of butter and add the bread crumbs. This will be the topping of the mac and cheese.  Once you top it in a casserole dish, you can eat it at that point; or you can put it the the oven to “reheat” your cheese sauce and thicken your cheese sauce even more (not too much more).

Macaroni and Cheese

This is a meal that you can add to your weekly rotation, as it is filling and an American classic. This is a very kid friendly recipe and you won’t feel as bad that your child is eating macaroni and cheese as it is homemade without crazy preservatives.

5.0 from 1 reviews
Macaroni and Cheese
 
Author:
Recipe type: Main Dish
Cuisine: American
Serves: 4
Prep time:
Cook time:
Total time:
 
Classic comfort food that can be in your weekly rotation.
Ingredients
  • 2 tablespoons of Unsalted Butter
  • 2 tablespoons of Flour
  • 1½ cups of Milk (whole or 2%)
  • 1 block of Sharp or Extra Sharp Cheddar Cheese (whole or 2%) - shredded
  • Salt and Pepper
  • 2 cups of dry Elbow noodles
Topping
  • 1 tablespoon of Unsalted Butter
  • ⅓ cup Breadcrumbs
Instructions
  1. Start a pan of water and bring same to a boil while you make your roux.
  2. Melt 2 tablespoons of butter, add flour. Whisk like crazy to prevent sticking/gumming
  3. Once it is bubbling a little (before it turns brown), add your milk while you are whisking; and continue to whisk until the roux becomes thick like a thinned out cake batter (usually takes about 5-8 minutes depending on your stove).
  4. Once your roux has become glorious, add cheese and remove from heat. Add salt and pepper to taste. Set aside until noodles are done.
  5. Once your noodles are done cooking, drain, and combine with the cheese. Stir.
  6. Melt 1 tablespoon of butter, add breadcrumbs. Brown.
  7. Pour your mac and cheese into a 3 quart casserole dish and top with browned crumbs. You can eat now OR...
  8. Turn oven onto 375 degrees and place your mac and cheese into the oven while it is still cold. Usually by the time the oven is preheated, your mac and cheese will bubble along the edges.
  9. Enjoy with green beans and a muffin of your choice