Banana Split Cake
This is the best end of the summer cake to bring to any cook-out. I can guarantee (unless you don’t like pineapple or bananas) this will outshine any dessert and become your favorite dessert.
I remember growing up and my mom making this for family gatherings. I was always confused as to WHY it took two days, but now it makes sense. The “ice cream” and the crust need to set and becomes friends.
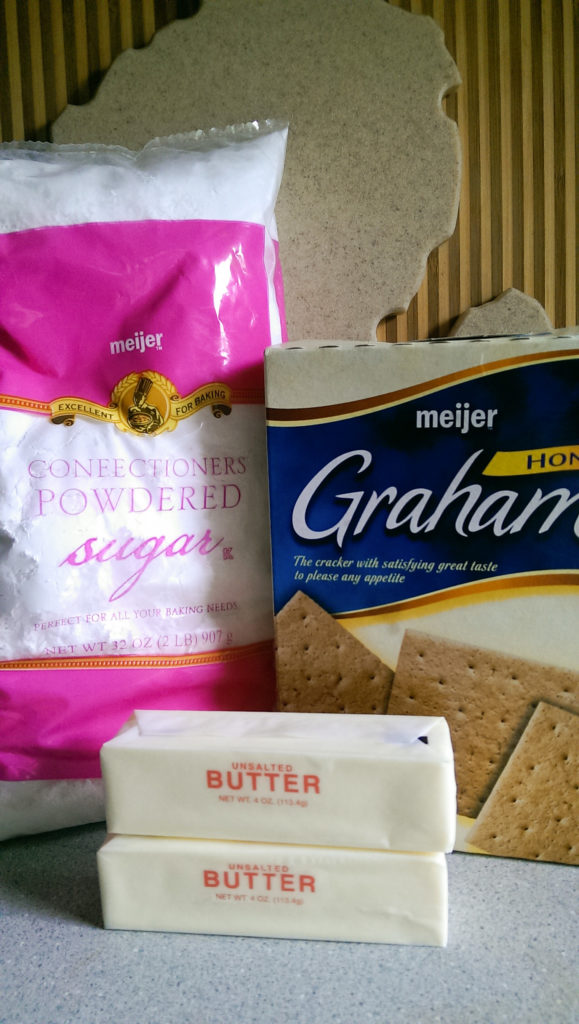
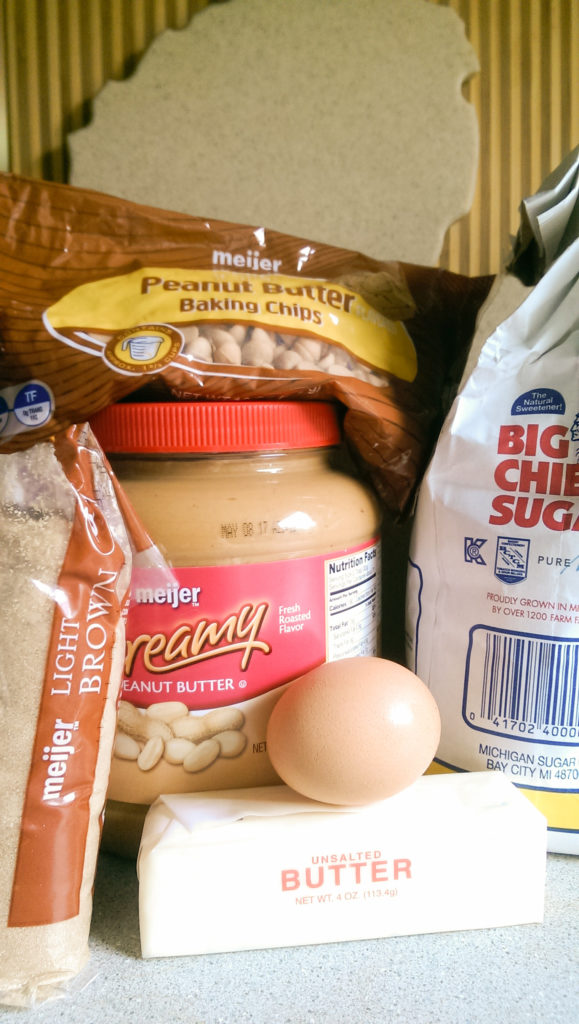
Michigan Ingredients: Powdered Sugar, Butter, Graham Crackers
Day 1:
On day one, your make your crust and the “ice cream” portion of the banana split cake. Suuuuper Simple!
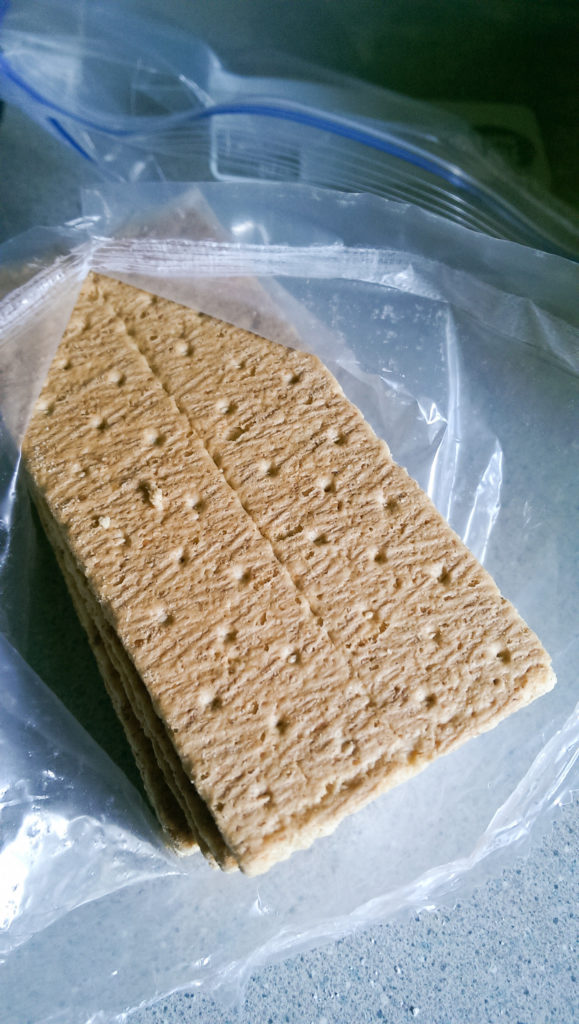
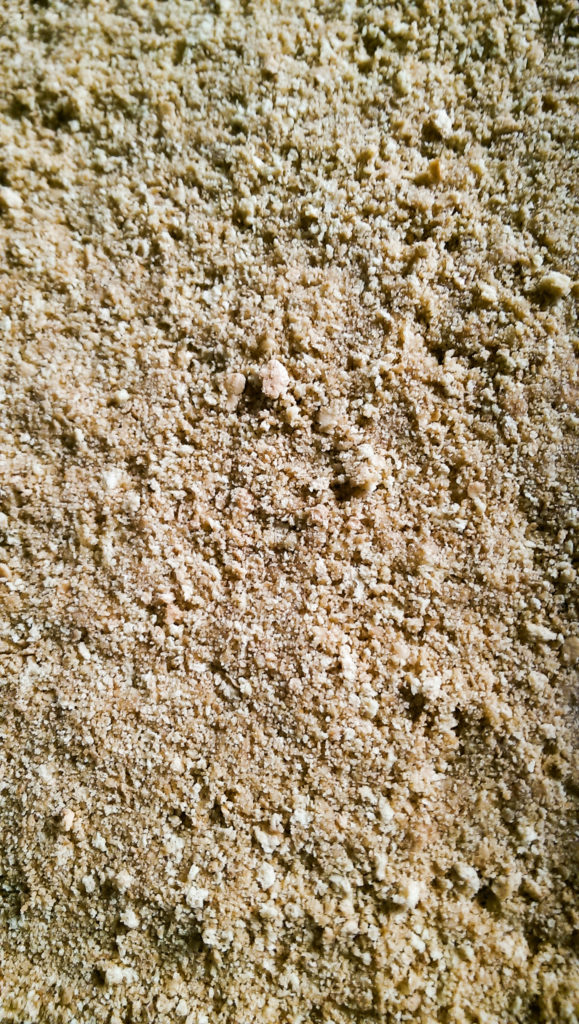
Take one sleeve of graham crackers (roughly 9-10 sheets). Place them in a Zip-lock bag and take out your aggression…
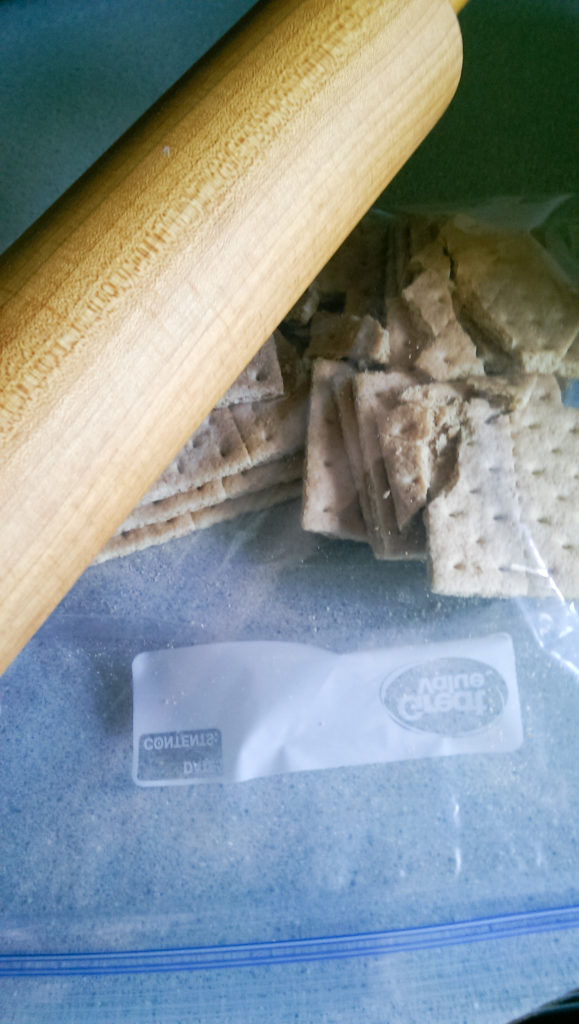

Crush your graham crackers until somewhat fine. You can use a food processor if you want more consistency; however, that means more dishes and I don’t know about you, but I don’t want to do more than I have to when it comes to dishes.
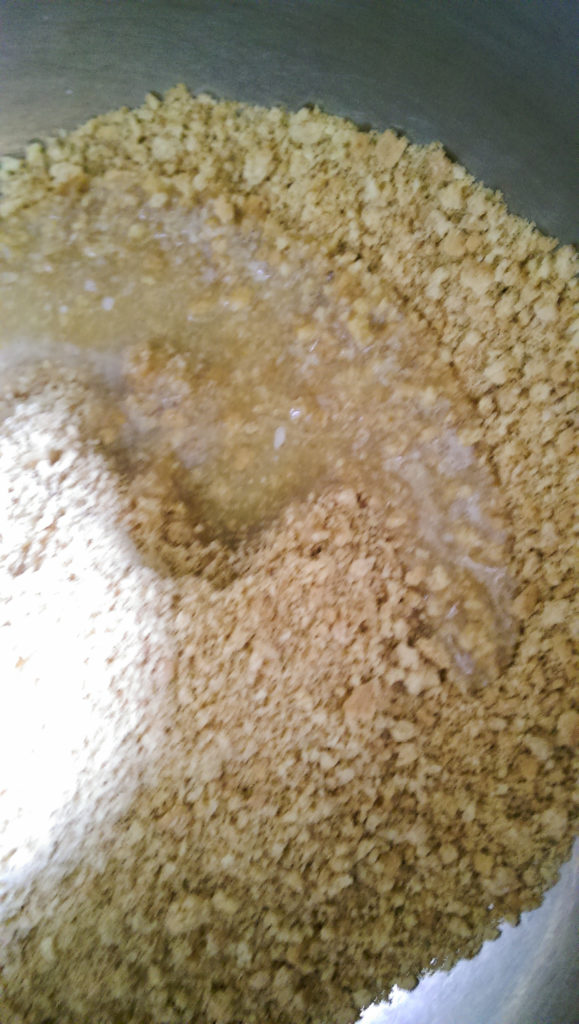
Melt 3 tablespoons of butter and pour into your graham cracker crumbs. Mix with a fork and press into a 9×13 glass pan…..
So simple.
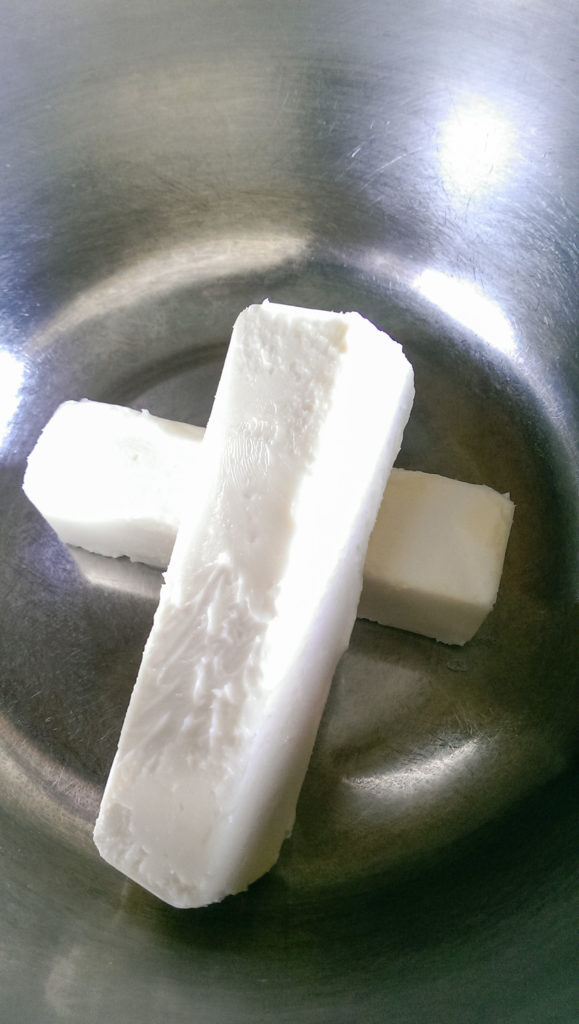
Place 2 sticks of softened butter and …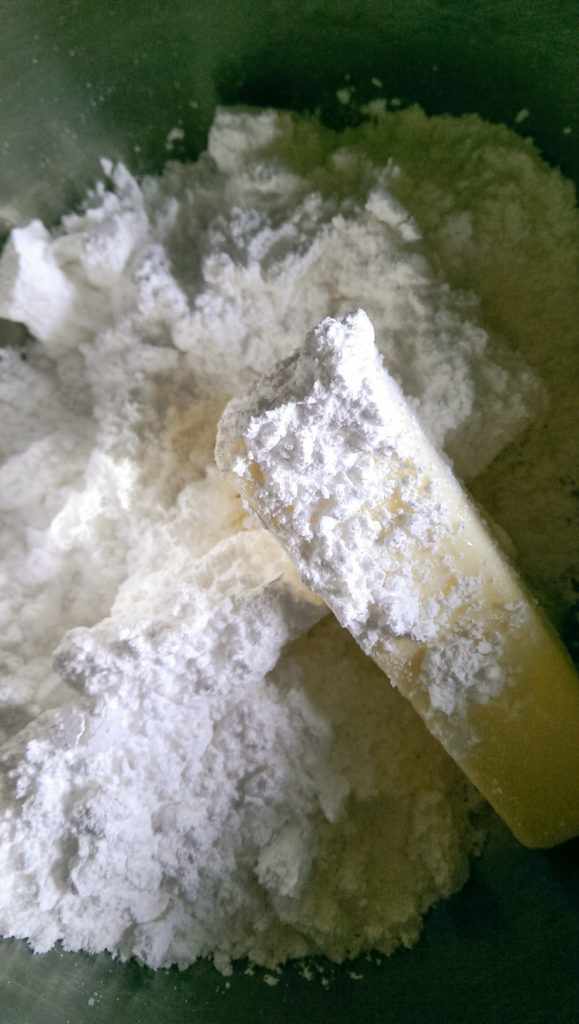
2 cups of powdered sugar into a bowl. You can use your stand mixer if you wish; however, I was feeling nostalgic and decided to use the hand mixer. That’s the old school way my mom would do it… so why not?

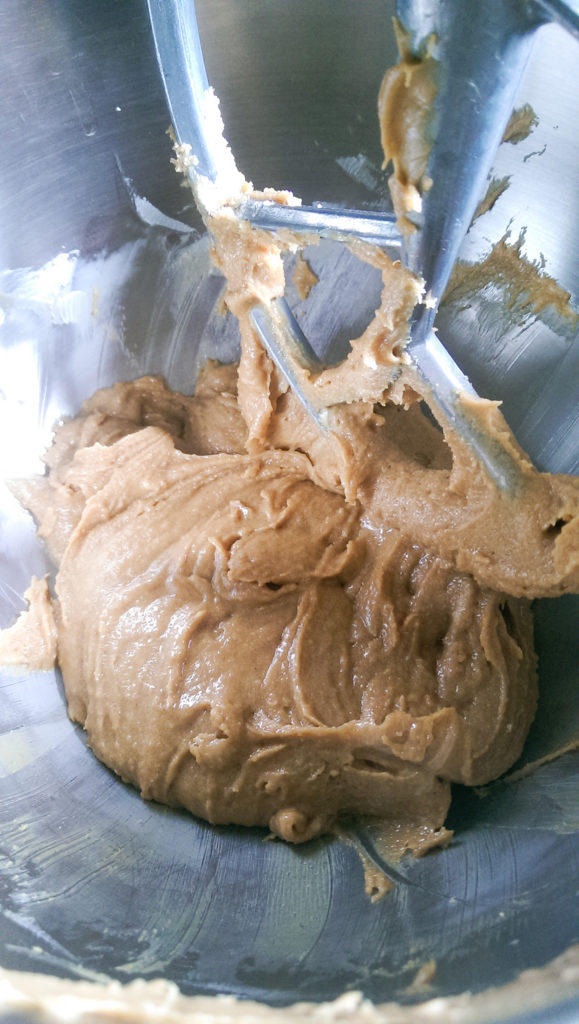
Cream your butter and powdered sugar together until combined.
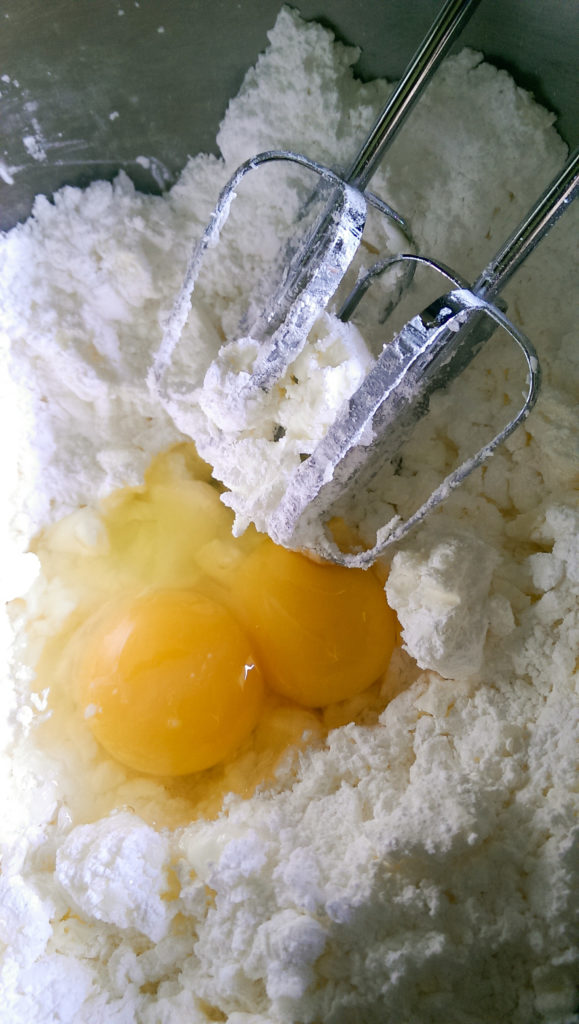
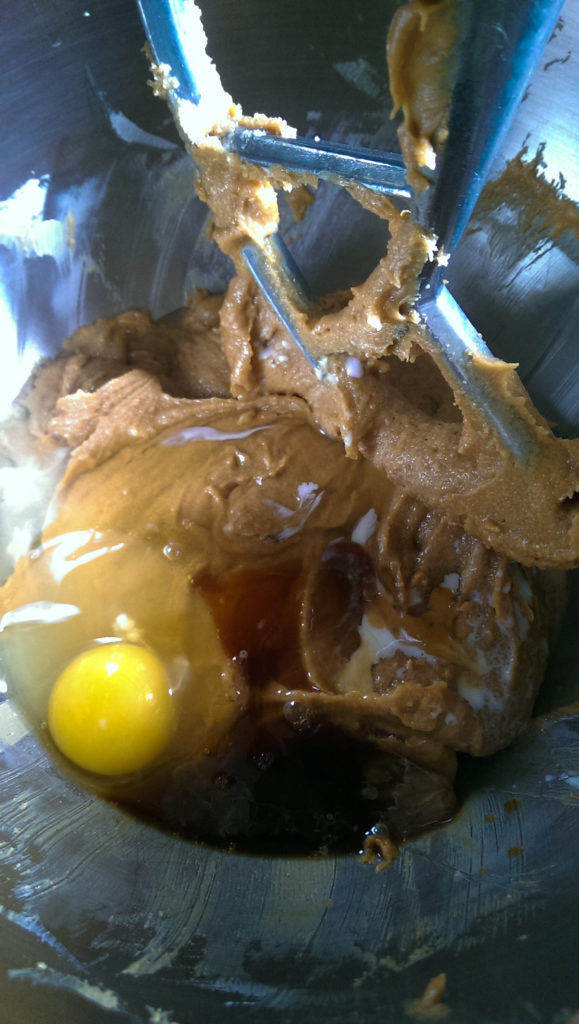
Add 2 eggs….
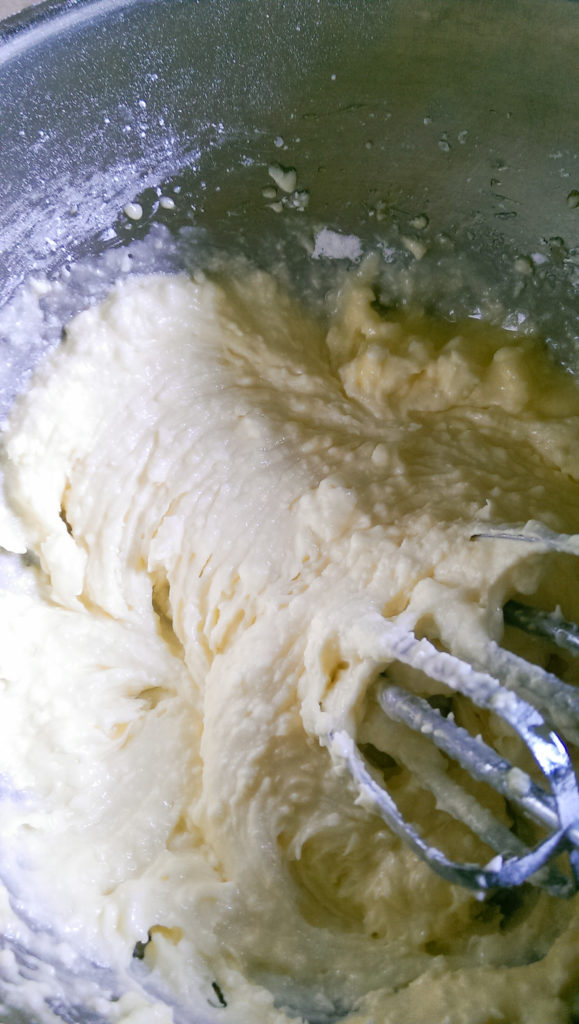
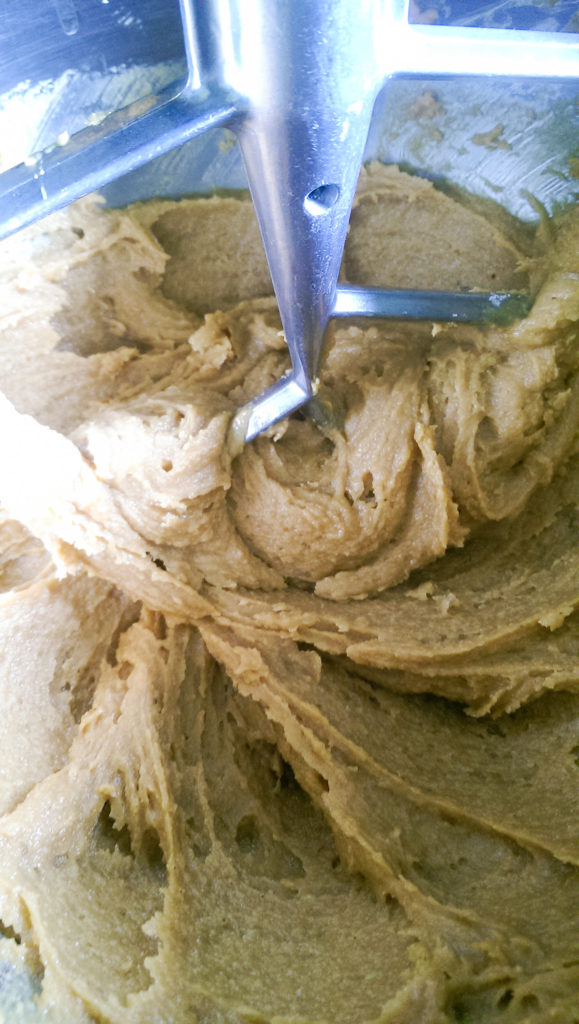
and cream until fluffy (please note that I mixed the above a bit more for a total of 4 minutes or so).
Now I know there is concern that there is raw egg and this is not a baked dish. My thought was… I use to eat this when I was little… so I’m sure you’ll be fine. You can omit the egg if you must, but the egg is what helps create that “ice cream” texture/taste/amazingness.
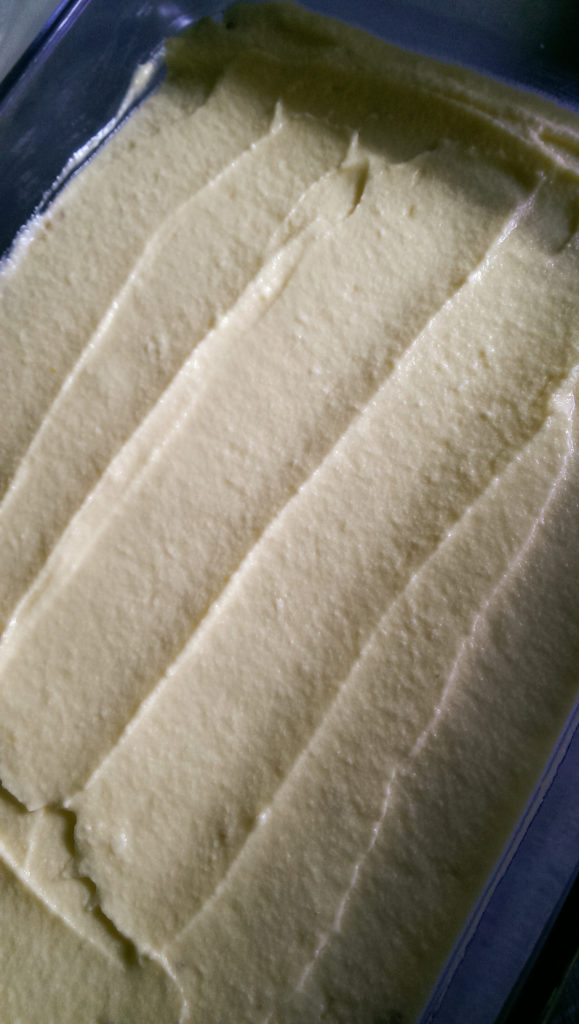
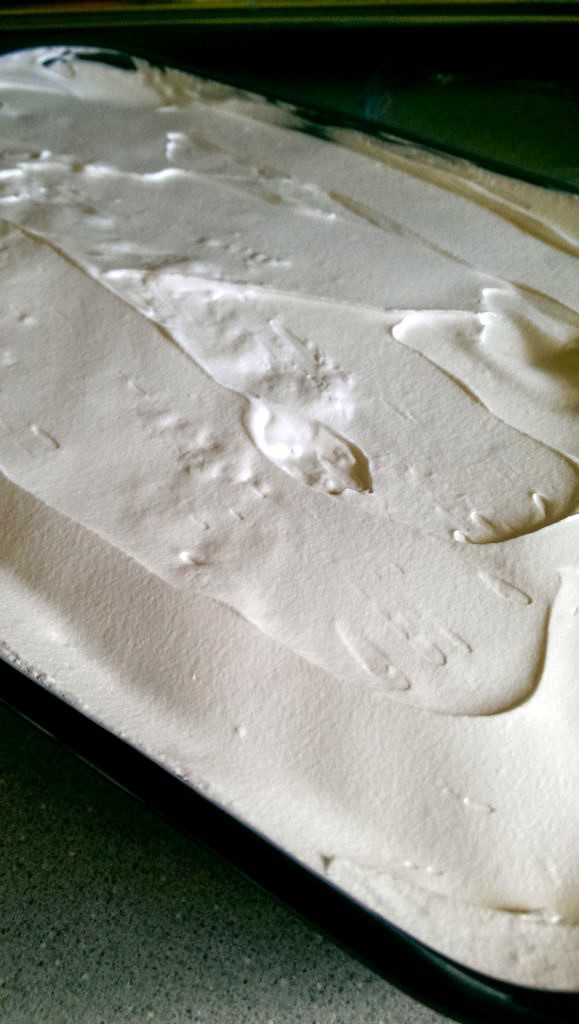
Take the mixture and spread it over your graham cracker crust. Cover and place in the fridge overnight. You are now done with DAY 1.
DAY 2:
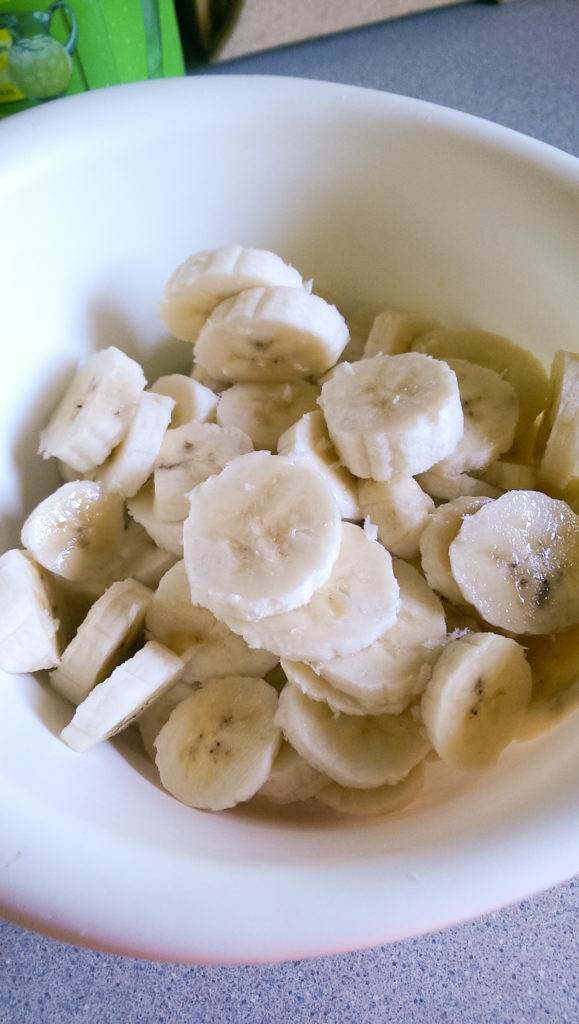
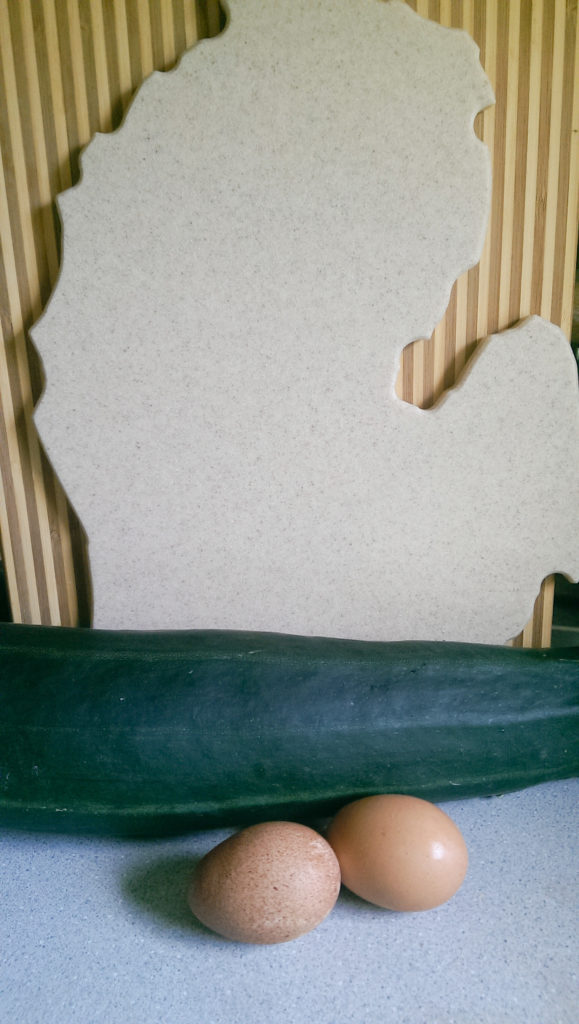
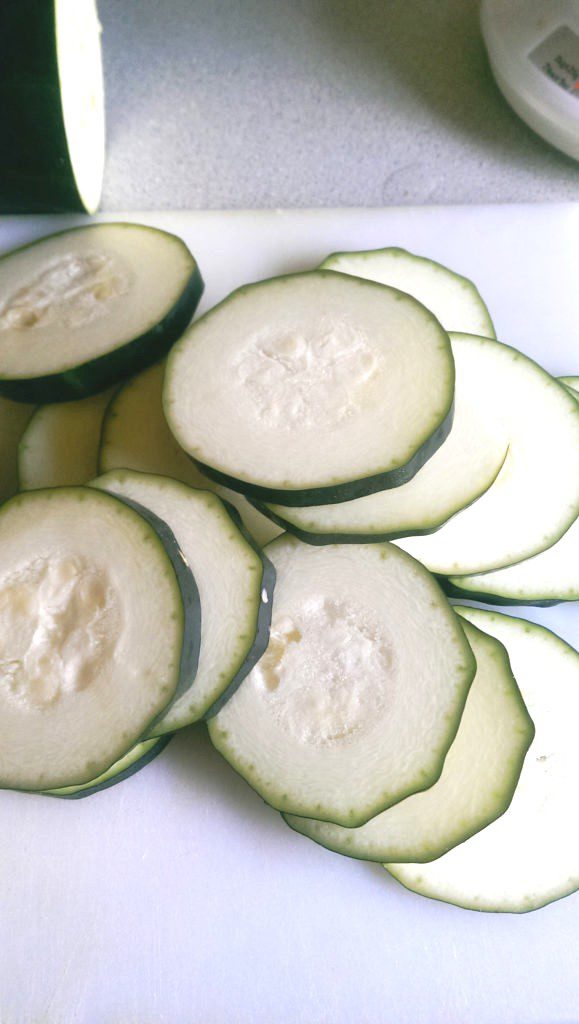
Slice up 4-5 medium sized bananas and place them in a non-metal bowl.
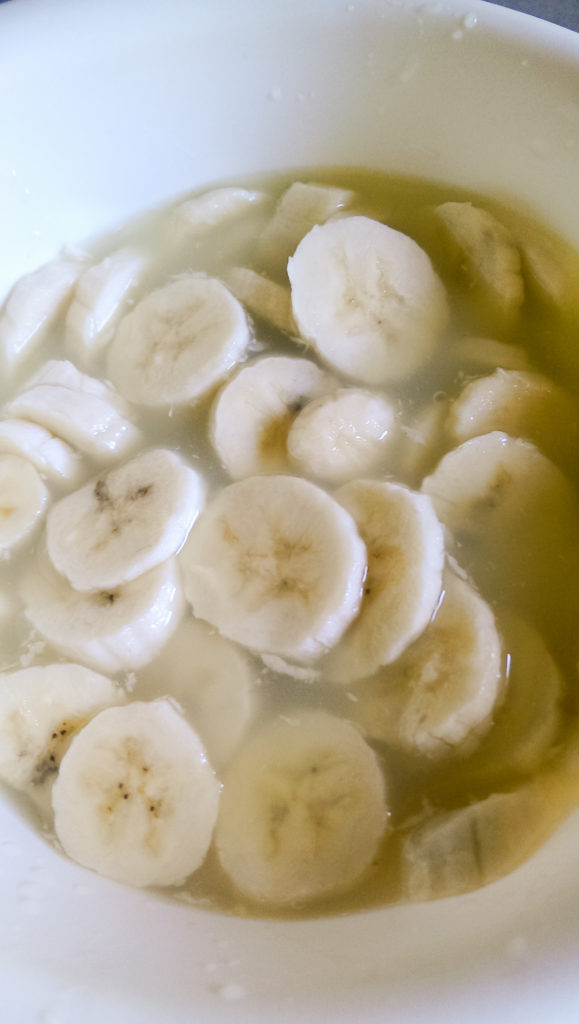
Cover the bananas with lemon juice. The lemon juice is going to help the bananas not get funky, a.k.a. brown. Let the bananas sit in the lemon juice for 5 minutes.
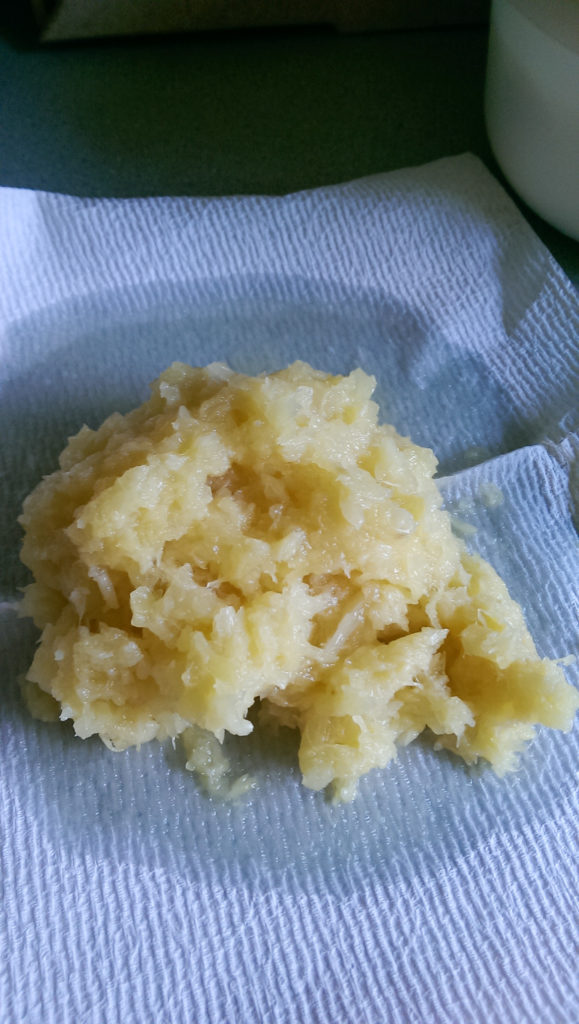
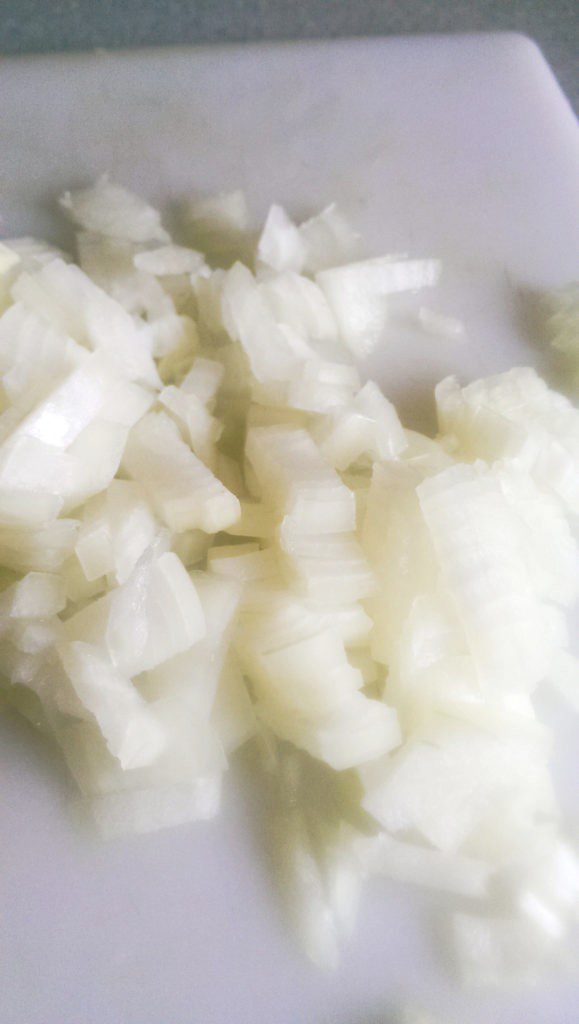
Meanwhile…. drain as much juice from your large can of crushed pineapple. If you are super cool and have a cheesecloth thinger, you can use that or…. be like me and use LOTS of paper towels and squeeze the excess juice from the crushed pineapple. You don’t want the juice to make this wonderful cake soggy.
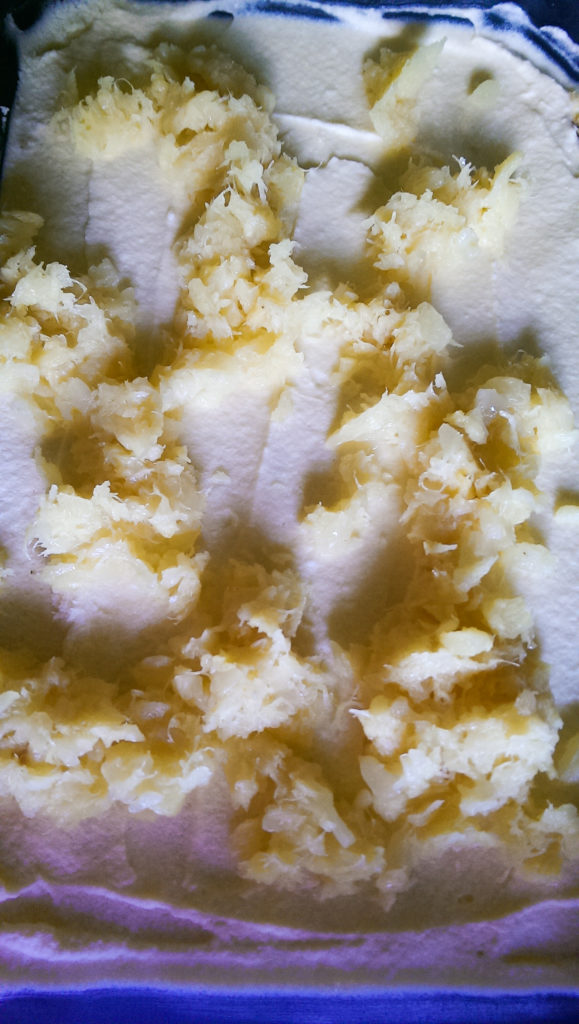
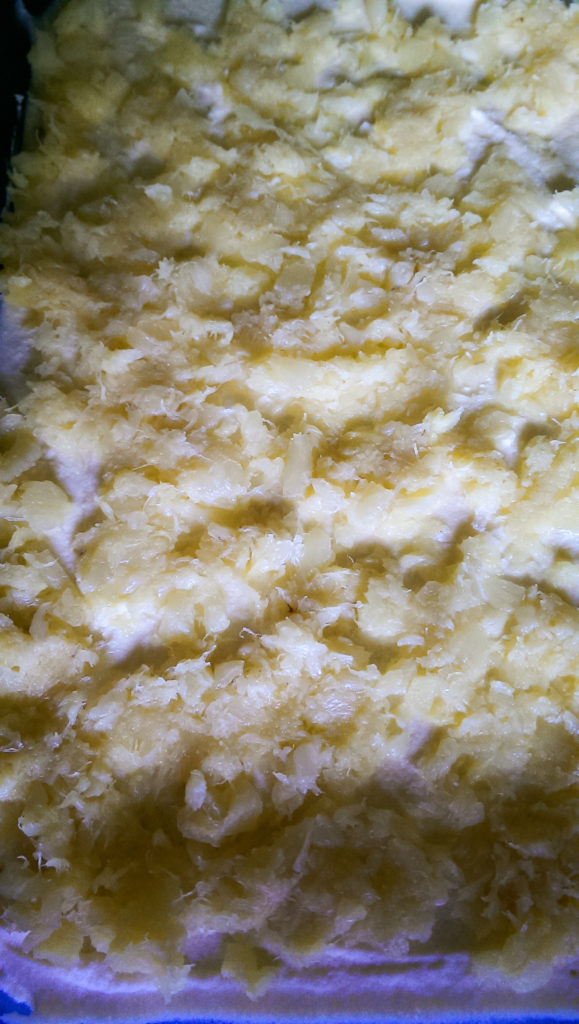
After you have squeezed the excess juice out of the crushed pineapple, it will seem a little bit more difficult to …. what’s the wording… pick through? You want to be able to spread the pineapple over the ice cream layer and the pineapple sticks together in “clumps.” Break apart said clumps and try to spread it out as evenly as possible.
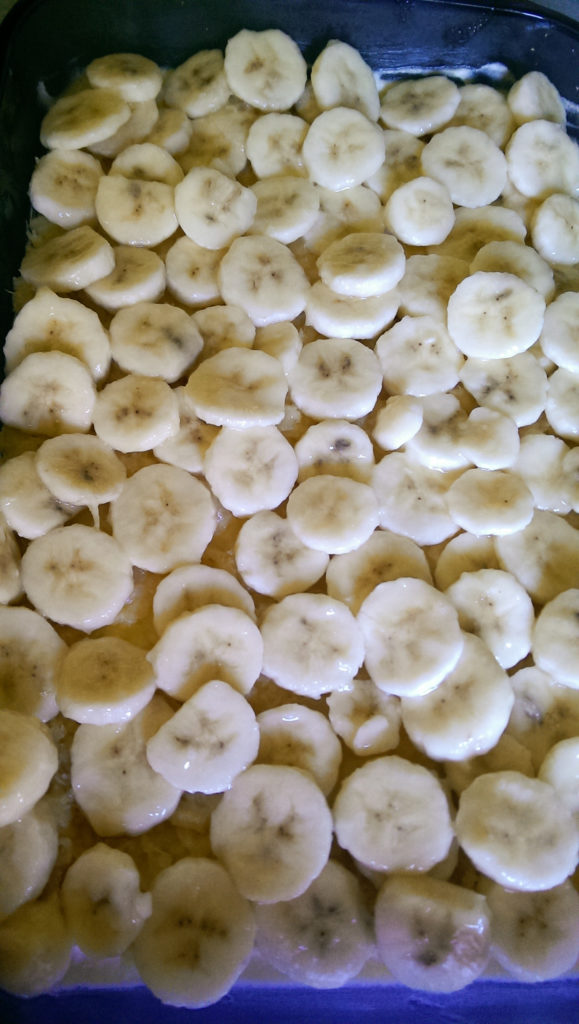
By now your 5 minutes is up and your bananas are ready to be drained, blotted (somewhat) dry, and placed on top of the pineapple layer in an even layer.
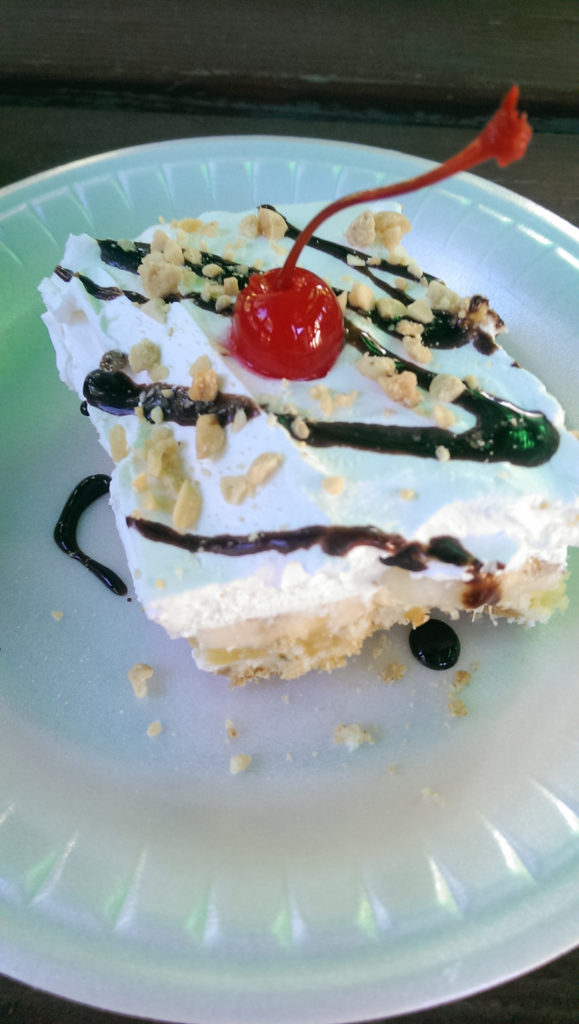
FINAL LAYER!! Cover the entire cake with cool whip and it is ready to go. I would recommend letting the cake sit in the fridge for at least an hour or so before cutting into it so that all layers are the same temperature and for easier cutting…. BUT you can cut into this right now if you want.
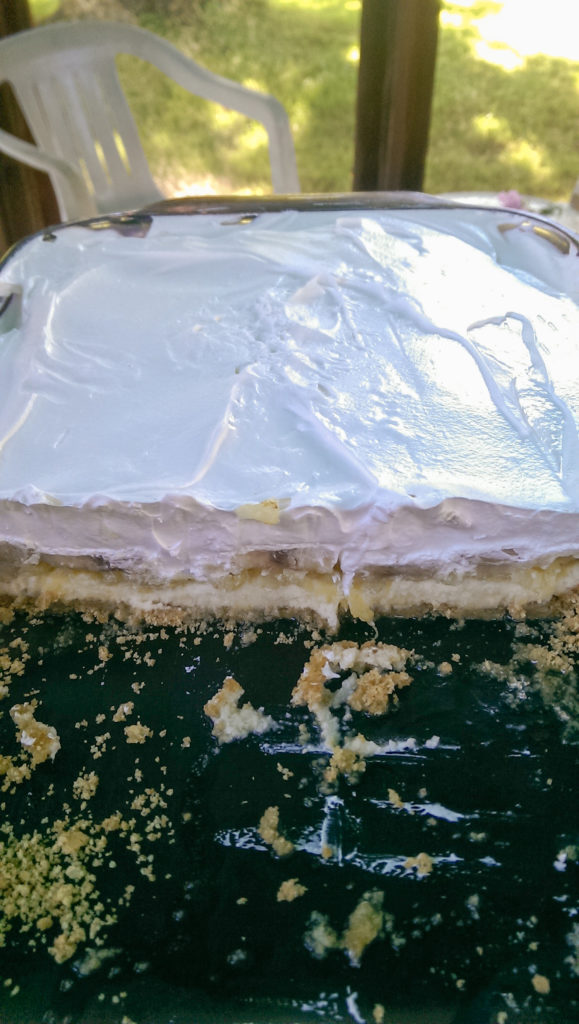
Look at those layers. It is heaven in a pan. It is so worth the 2 days it takes to make. BUT you think I’m going to let you eat this plain…. oh no….
What are the toppings you usually have on a banana split cake? Nuts, chocolate syrup, and a cherry on top. Look at the beautiful drizzling and toppings compliments of my wonderful husband.
This is the perfect recipe for any end of the summer/Labor day cook-out!
- 1 Sleeve of Graham Crackers (9-10 sheets)
- 3 tablespoons Butter (melted)
- 2 sticks of Butter (softened)
- 2 cups of Powdered Sugar
- 2 Eggs
- Large Can of Crushed Pineapple
- 4-5 medium sized Bananas
- Lemon Juice
- 1 large tub of Cool Whip
- Toppings: chocolate syrup, chopped nuts, cherries
- Take your graham crackers and crush them in a Zip-Lock bag with a rolling pin (or use your food processor) until fine.
- Melt 3 tablespoons of butter and pour into the graham cracker crumbs and mix with a fork. Press into a 9x13 pan.
- Place 2 sticks of softened butter and 2 cups of powdered sugar in a bowl and cream until just combined. Add your eggs and cream until fluffy.
- Spread the the butter and sugar mixture over the crust evenly. Cover the pan and place in the fridge overnight.
- Slice up 4-5 medium sized bananas and place them in a non-metal bowl.
- Cover the bananas with lemon juice. The lemon juice is going to help the bananas not get funky, a.k.a. brown. Let the bananas sit in the lemon juice for 5 minutes.
- Meanwhile, drain your crushed pineapple as best as you can in the can and then squeeze the excess juice out with either a cheesecloth or paper towels to prevent excess liquid.
- Spread the pineapple over the "ice cream" layer as evenly as possible.
- Drain you bananas and blot (somewhat) dry. Spread over the pineapple layer evenly.
- Spread your Cool Whip over the bananas and place cake in the fridge for an hour for everything to become the same temperature for easier cutting.
- When ready to serve, top with chocolate syrup, chopped nuts, and a cherry.