Cherry Pie

Michigan is known to have the best cherries in the country. We have tart, we have sweet, we have wine cherries… we have it all! What’s even more great is when you have a sweet grandmother who has a cherry tree in her back yard and she lets you pick as much as you want because the tree is loaded and the birds haven’t gotten to it. Pick cherries and spend time with loved ones; a double whammy!
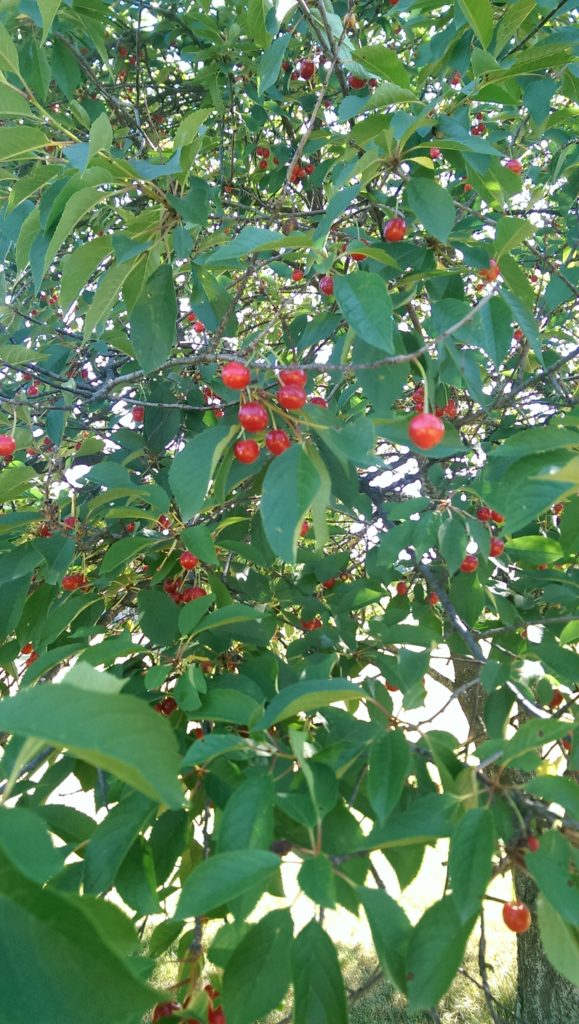
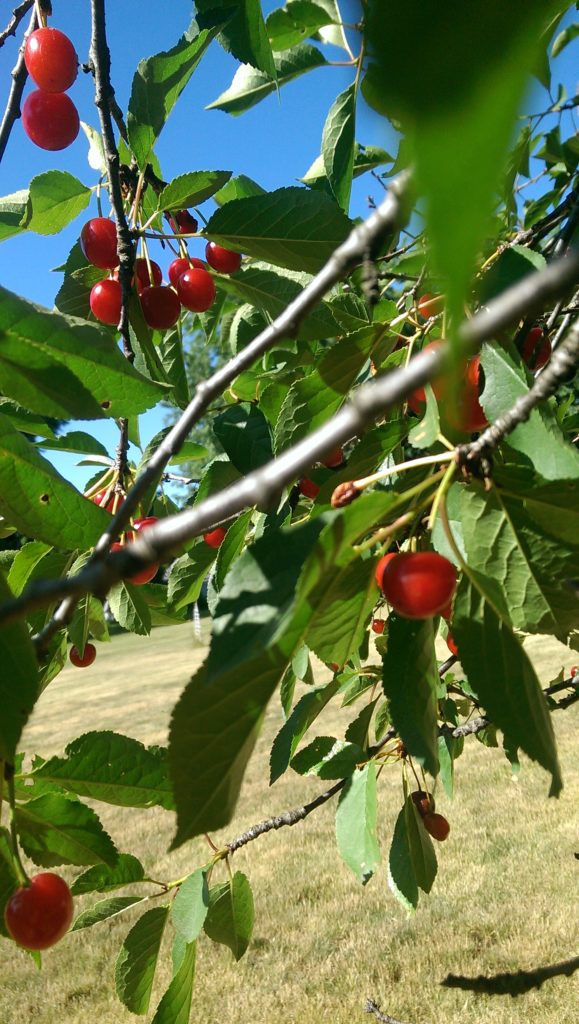
There isn’t anything more beautiful and fun than picking cherries with your child. My daughter had so much fun, and even though these were tart cherries; she insisted on eating them (much like the strawberries). Don’t worry, I remembered to pit them before giving them to her. I know that my grandmother doesn’t spray her cherry tree, so it was safe to eat straight from the tree without rinsing.
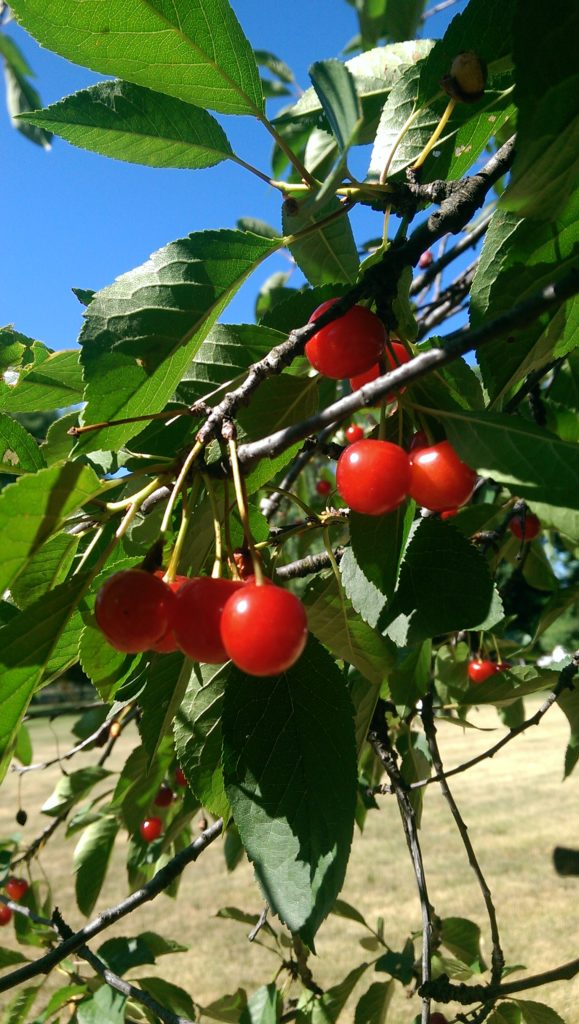
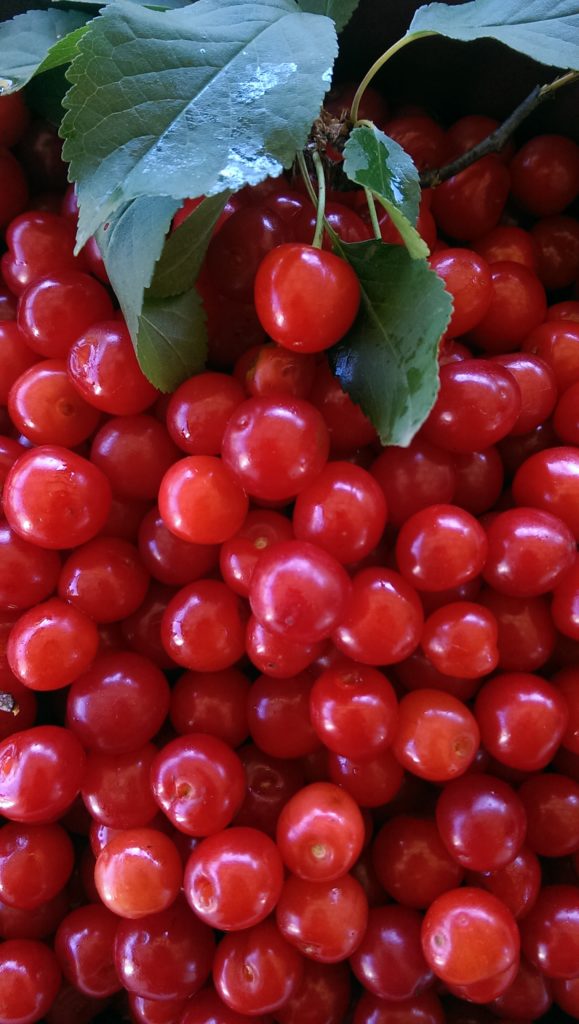
Luckily, my dad was with us and we were able to use a ladder and get as much as 9 cups of cherries, which is more than enough for this pie recipe and some for the freezer.
When I was growing up, my grandmother and grandfather would pick cherries from the trees in their backyard and make the most delicious cherry pies. They would also freeze them so that they could make more than one pie because when you pick fresh cherries, you have to use them right away or freeze them as they can go bad quickly.
That is Pure Michigan right there. Good lord… Let’s just stare at the above photo for a moment…
Michigan Ingredients: Cherries and Sugar
These are tart cherries, which of course need some sugar. The best way to curb the tart flavor is by adding sugar and when you eat your pie make sure you top it with whipped cream or even better, vanilla bean ice cream.
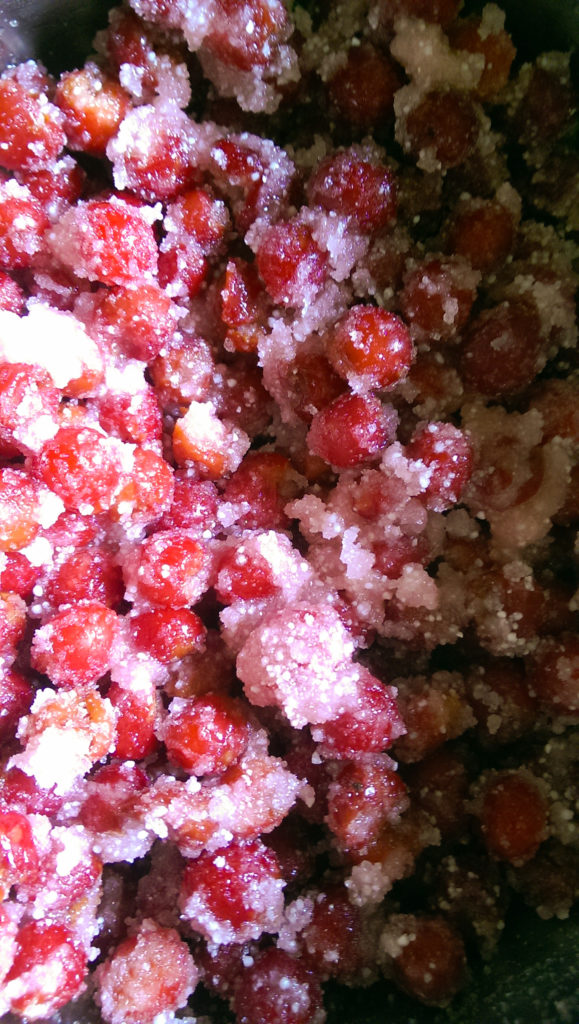
Combine your cherries, sugar, tapioca, and pure almond extract in a bowl. The tapioca works as a thickening agent for the juices of the pie. My family has always used tapioca.
Try not to eat too many and save some for the pie. Let this sit for 15 minutes so that everything can become friends and get really close.
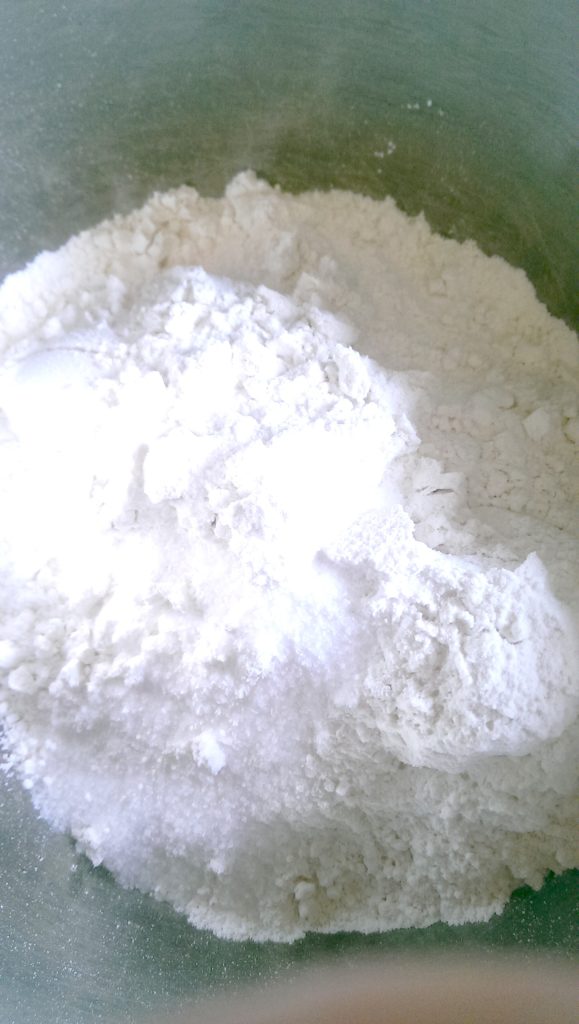
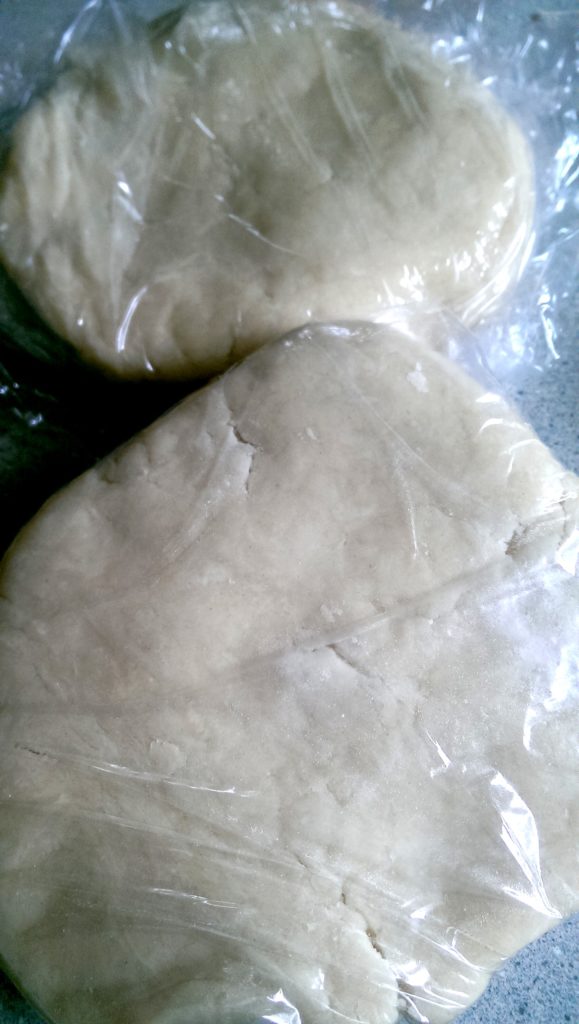
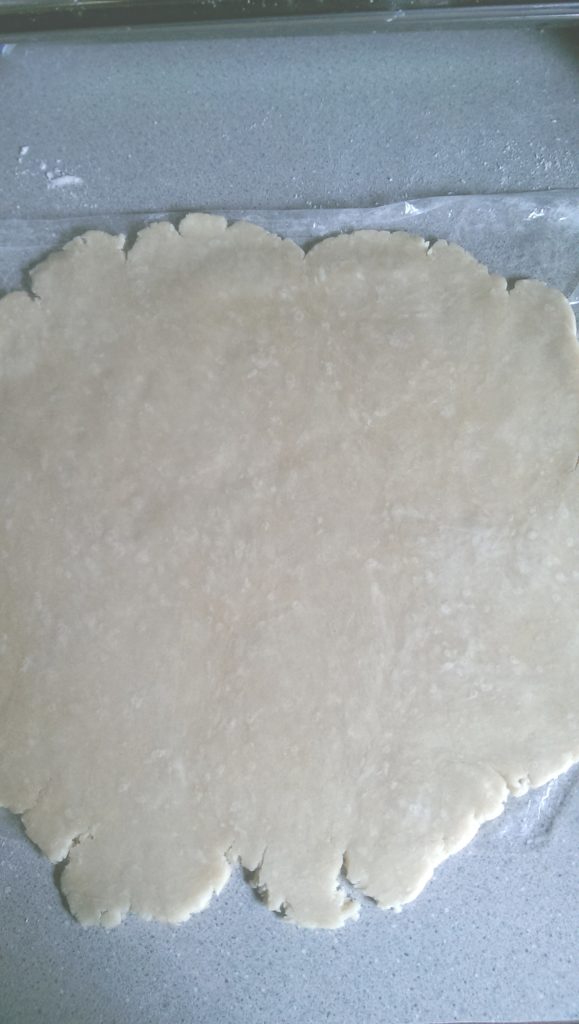
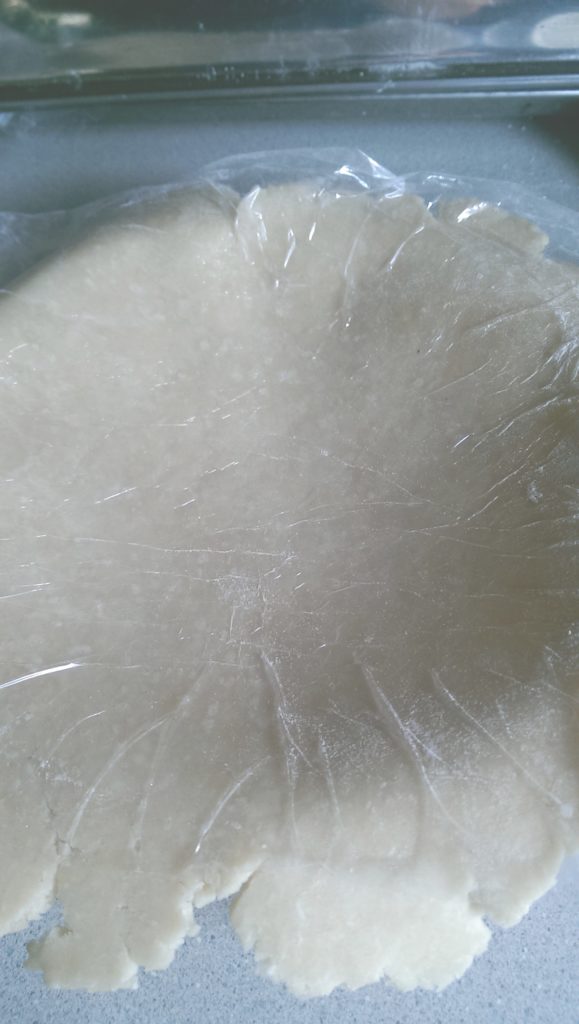
You will want to have your pie crust prepped and ready ahead of time. Please see Classic Pie Crust for instructions 🙂
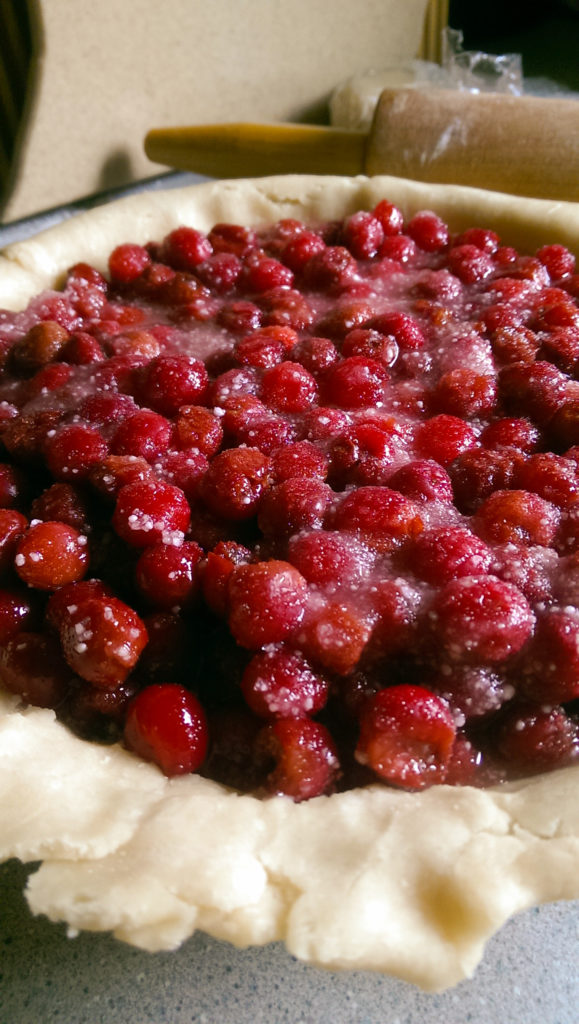
Pour your cherry mixture into the pie shell.
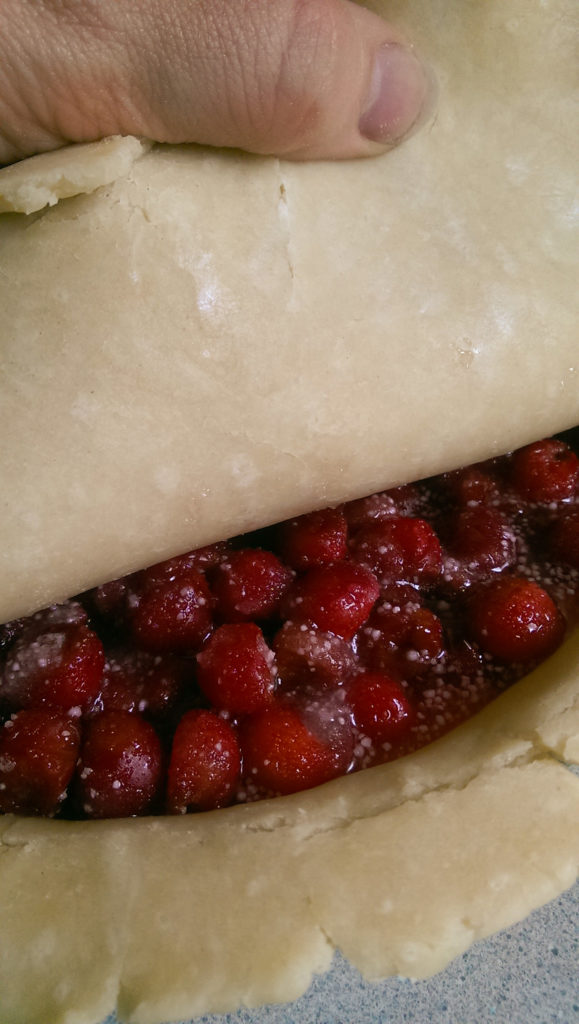
Top with your other pie crust. Remember that it’s dark, but it’s ok because this is so simple, you don’t even need to see (HA!). Be sure to trim the edges and crimp/flute the edges to make the pie look pretty. Set the excess pie dough aside and I will show you what to do it with.
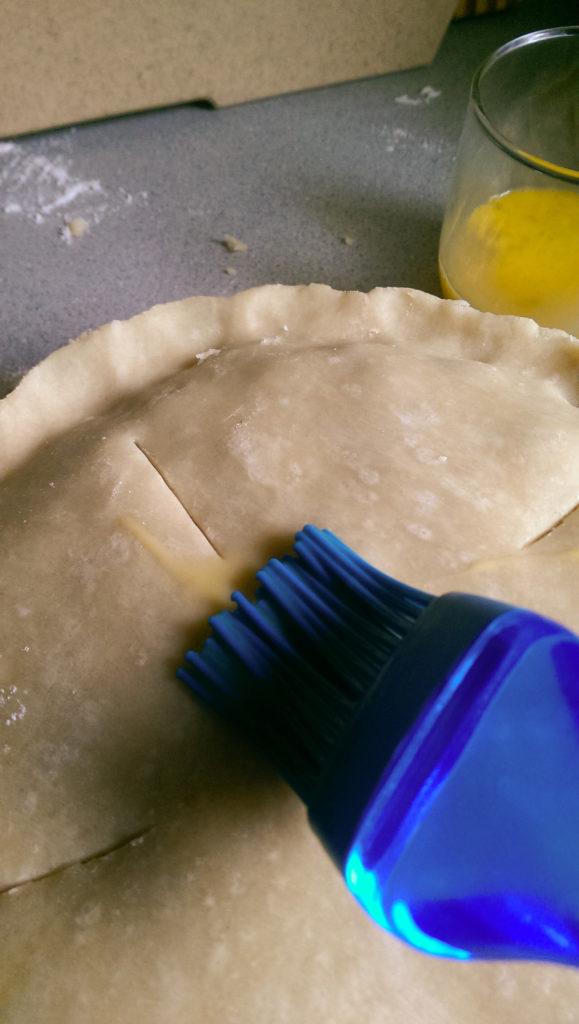
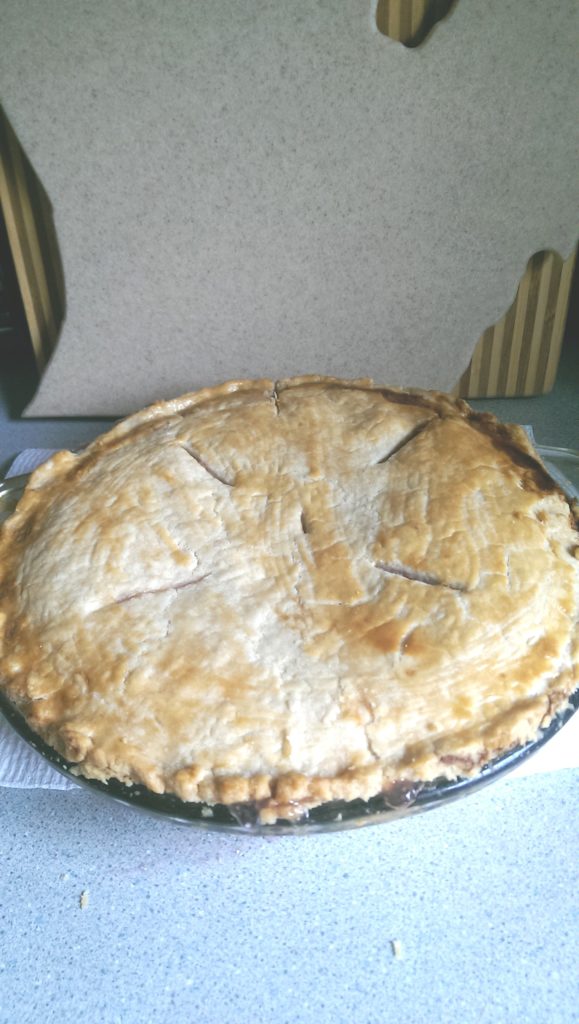
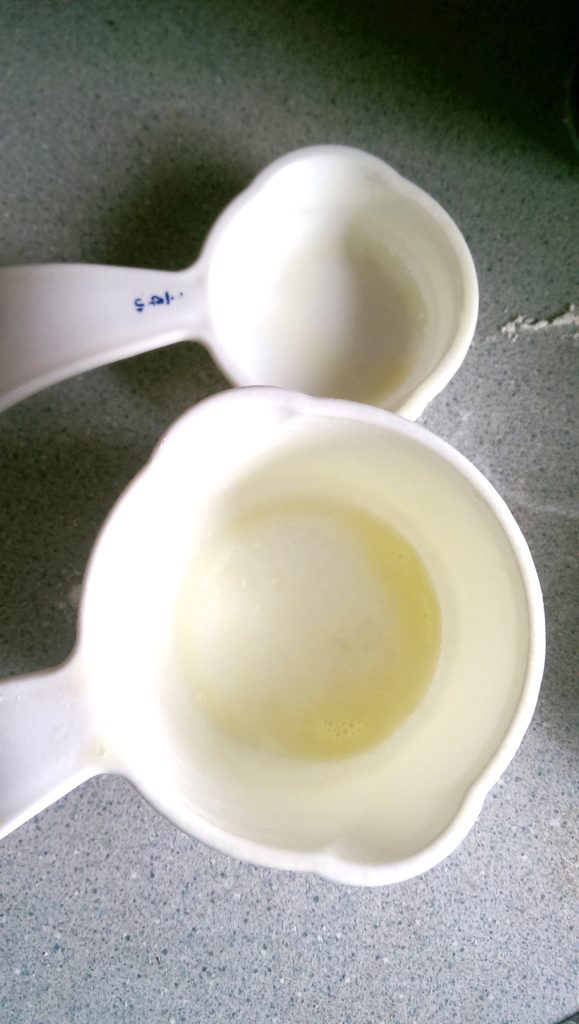
Cut a few slits so that your pie doesn’t explode in the oven and brush with a well beaten egg to assist the crust in becoming golden. Preheat your oven to 400 degrees.

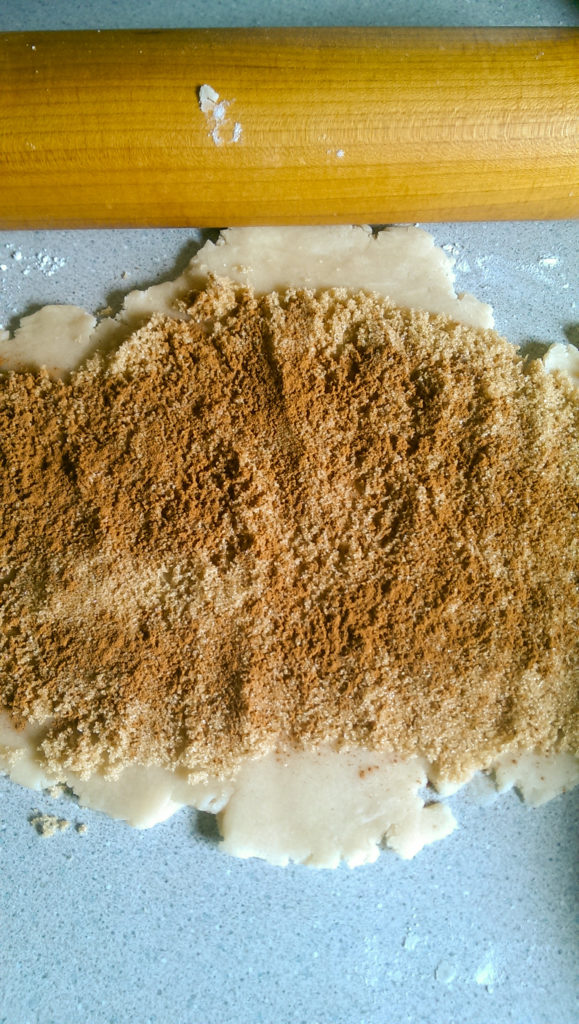
With the remaining crust that you set aside…… take brown sugar and cinnamon and create one of the best things about making pie (other than the pie itself of course); DOUGH DODGERS!! Roll up the dough lengthwise. Don’t panic if your dough cracks a little, just squeeze it together as best as you can. That’s the beauty of dough dodgers, they don’t have to be perfect.
When we were growing up, we always looked forward to the dough dodgers because we could snack on them while we waited for the pie to cool (or until we were having said pie). It’s a chance to warm up your taste buds and get mentally prepared to eat pie.
EXPERT TIP!! Place your pie onto a tinfoil lined cookie sheet to prevent your oven from getting dirty from the juices that will run out of the pie. Put the pie and dough dodger (which is on a separate cookie sheet) into the oven. Bake your pie for one hour.
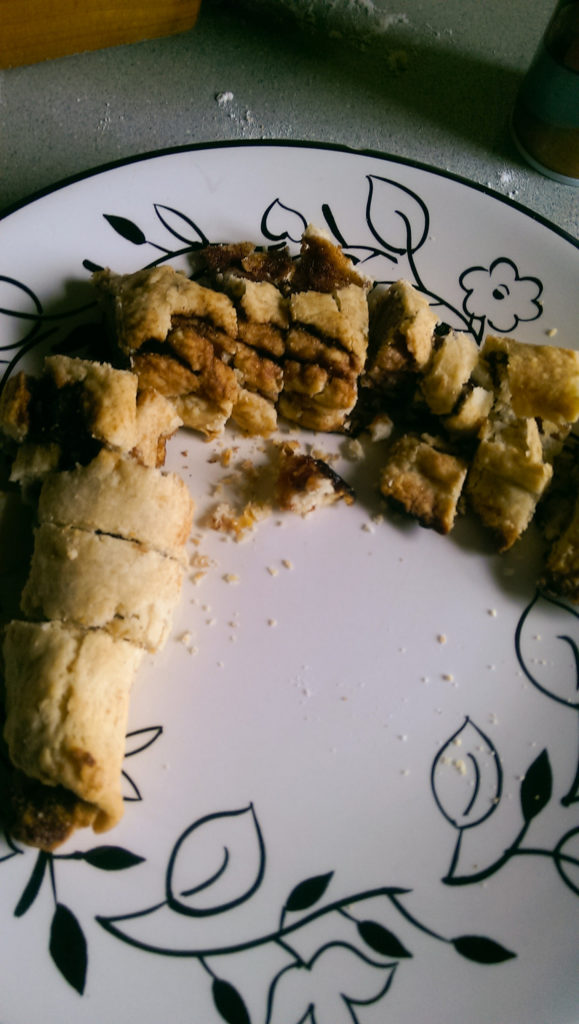
The dough dodger will probably take anywhere from 20-25 minutes. Just check it out, once it is browned, it is done. It also gives you an opportunity to check on the pie. If for some reason the edges of your pie are starting to brown too fast, take the pie out and wrap tin foil around the edges. Some people do this prior to putting the pie in the oven, as the pie will be hot. BUT! I live on the wild side, and let fate handle that for me 😉
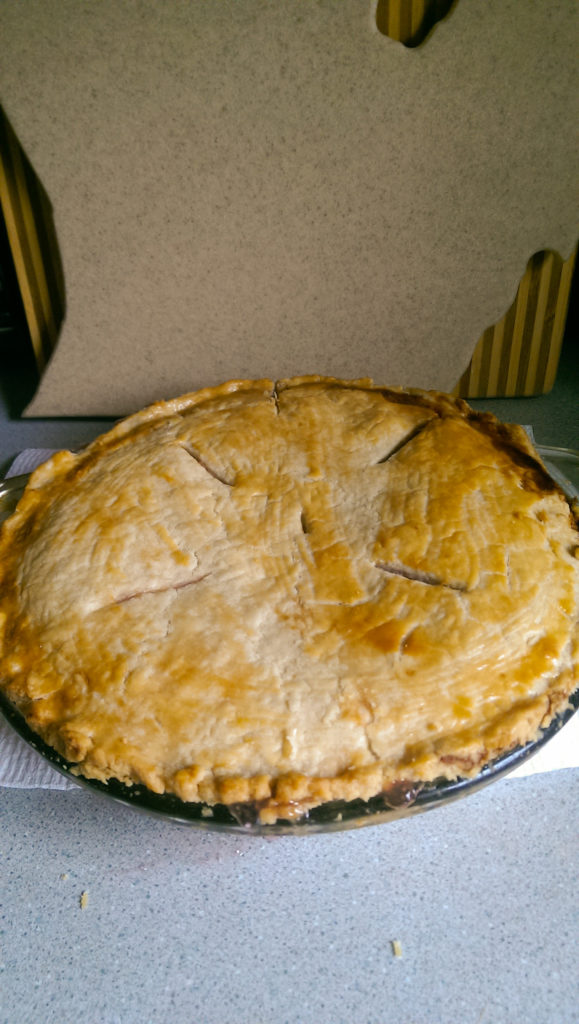
It is almost too hard not to want to dig into this pie right now.
The first piece is always the hardest piece to get out. But look at how vibrant that filling is. YUM!
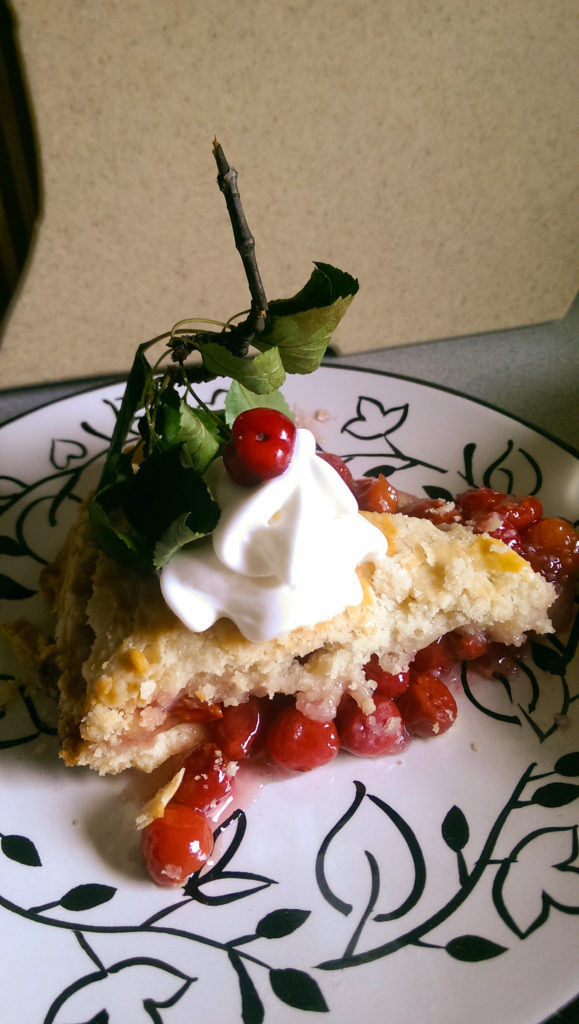
I always serve pies with vanilla bean ice cream because… it seems more… natural? BUT this time, I did not have ice cream on hand and sometimes just the simplicity of whipped topping can do wonders. It’s always best to eat pies with loved ones.
- 4 cups Cherries (pitted)
- 1⅓ cups of Sugar
- 3 tablespoons of Minute Tapioca
- ¼ teaspoon Pure Almond Extract
- 1 Classic Pie Crust recipe
- Makes 1 Classic Pie recipe. Prep the crust (roll out, etc.), set aside.
- Combine your cherries, sugar, tapioca, and pure almond extract. Stir well. Let the mixture sit for 15 minutes.
- Pour the fruit mixture into the pie shell. Top with second pie shell.
- Trim the edges and crimp/flute the edges to make the pie look pretty. Brush with one well beaten egg. Cut slits in the pie to allow steam to escape.
- Preheat your oven to 400 degrees and bake for one hour until the crust is golden brown and juices are starting to escape. Serve with whipped topping or vanilla bean ice cream.
Note: Use the excess pie dough to make dough dodgers! Simply roll out the dough, sprinkle brown sugar and cinnamon, roll the dough lengthwise and bake for 20 minutes or so.